
Announce It for Jira
Welcome to the Announce It for Jira documentation, designed to make team communication easier and more effective. This app allows you to effortlessly create and display announcement banners in various formats, including overlays, banners, and flags. With its intuitive and visually appealing interface, you can customize your announcements to fit your needs, ensuring that important messages are seen by your team without any hassle. Whether you're notifying your team about updates, reminders, or any crucial information, our app offers the flexibility and control you need to keep everyone informed.
1. First Steps
Download the app from the Atlassian Marketplace and install it inside your selected Jira instance. Integration of Announce It for Jira is lightweight, so no need to further adjust your application settings or the app itself for it to run.
2. Project-based or global announcements
Announce It for Jira distinguishes global from project-based announcements. Thus, you will find configuration panels for the app inside the project menu sidebar and also on the Jira settings administration panel.
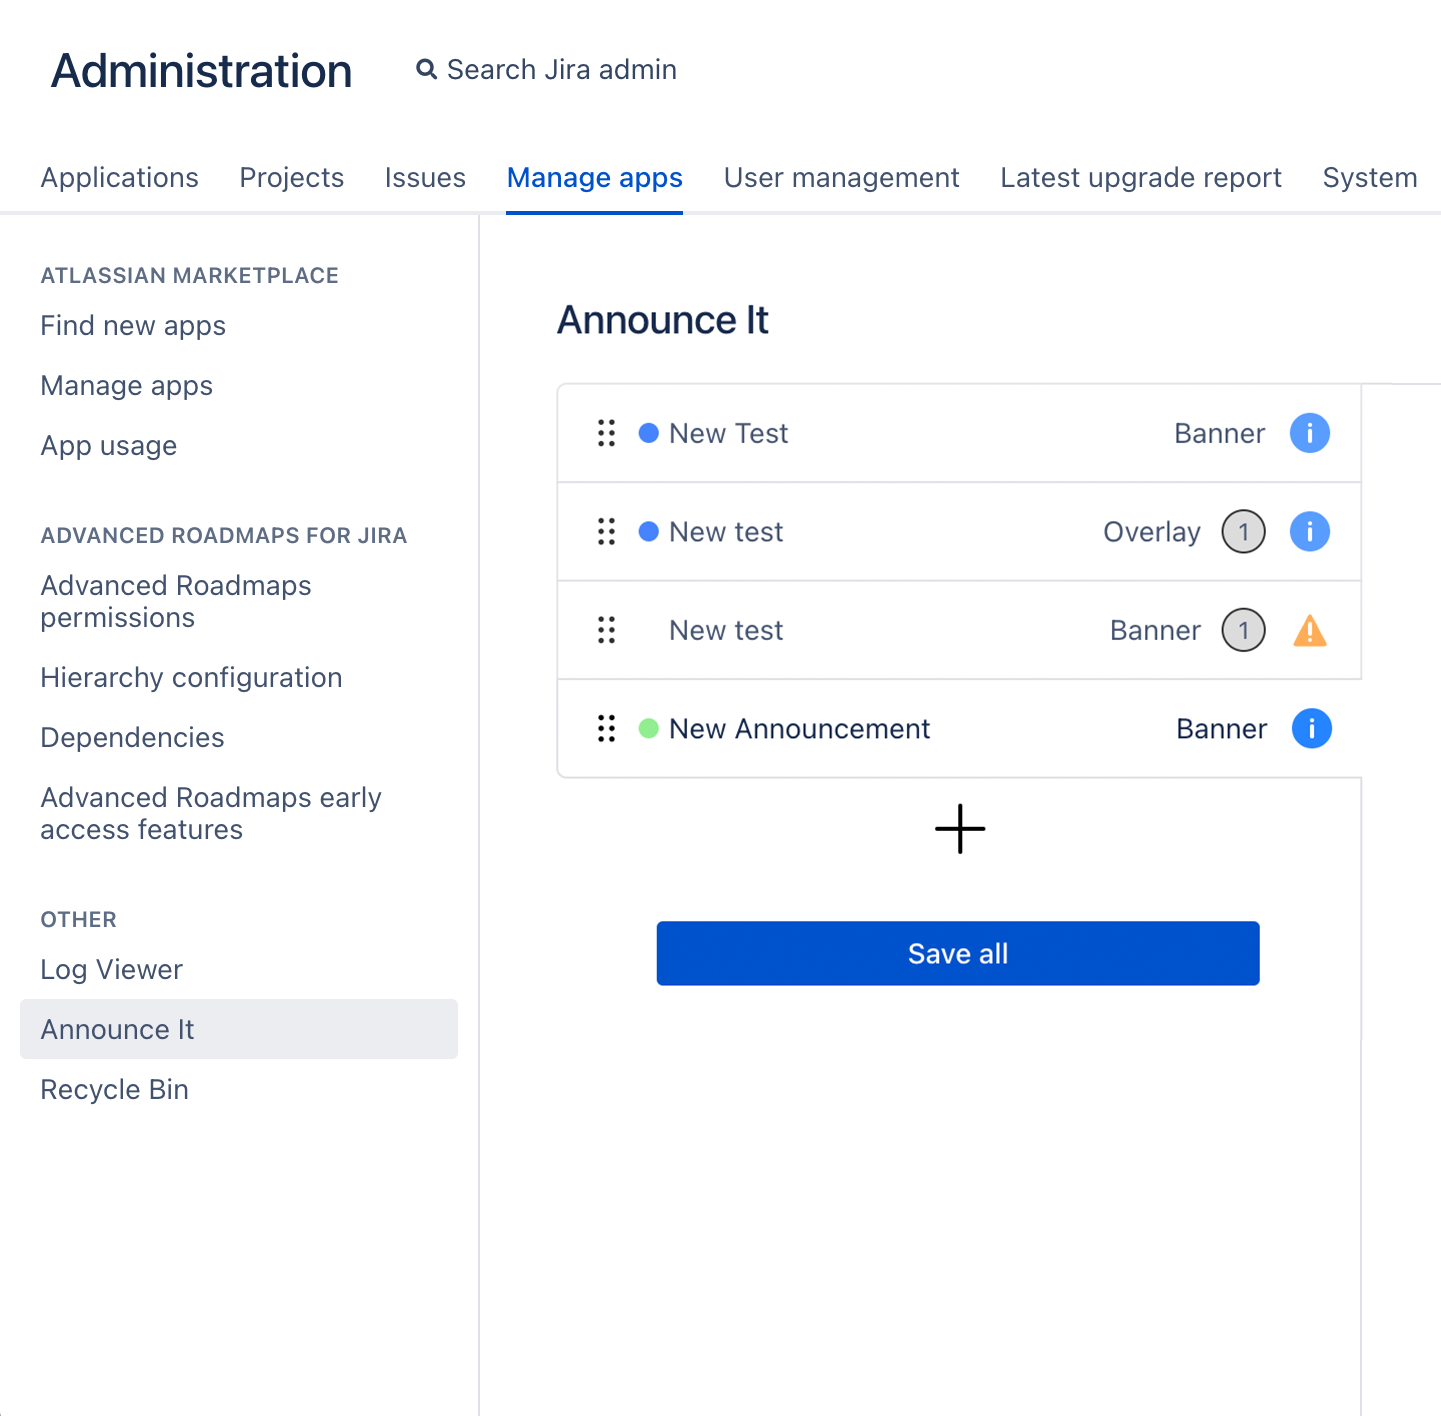
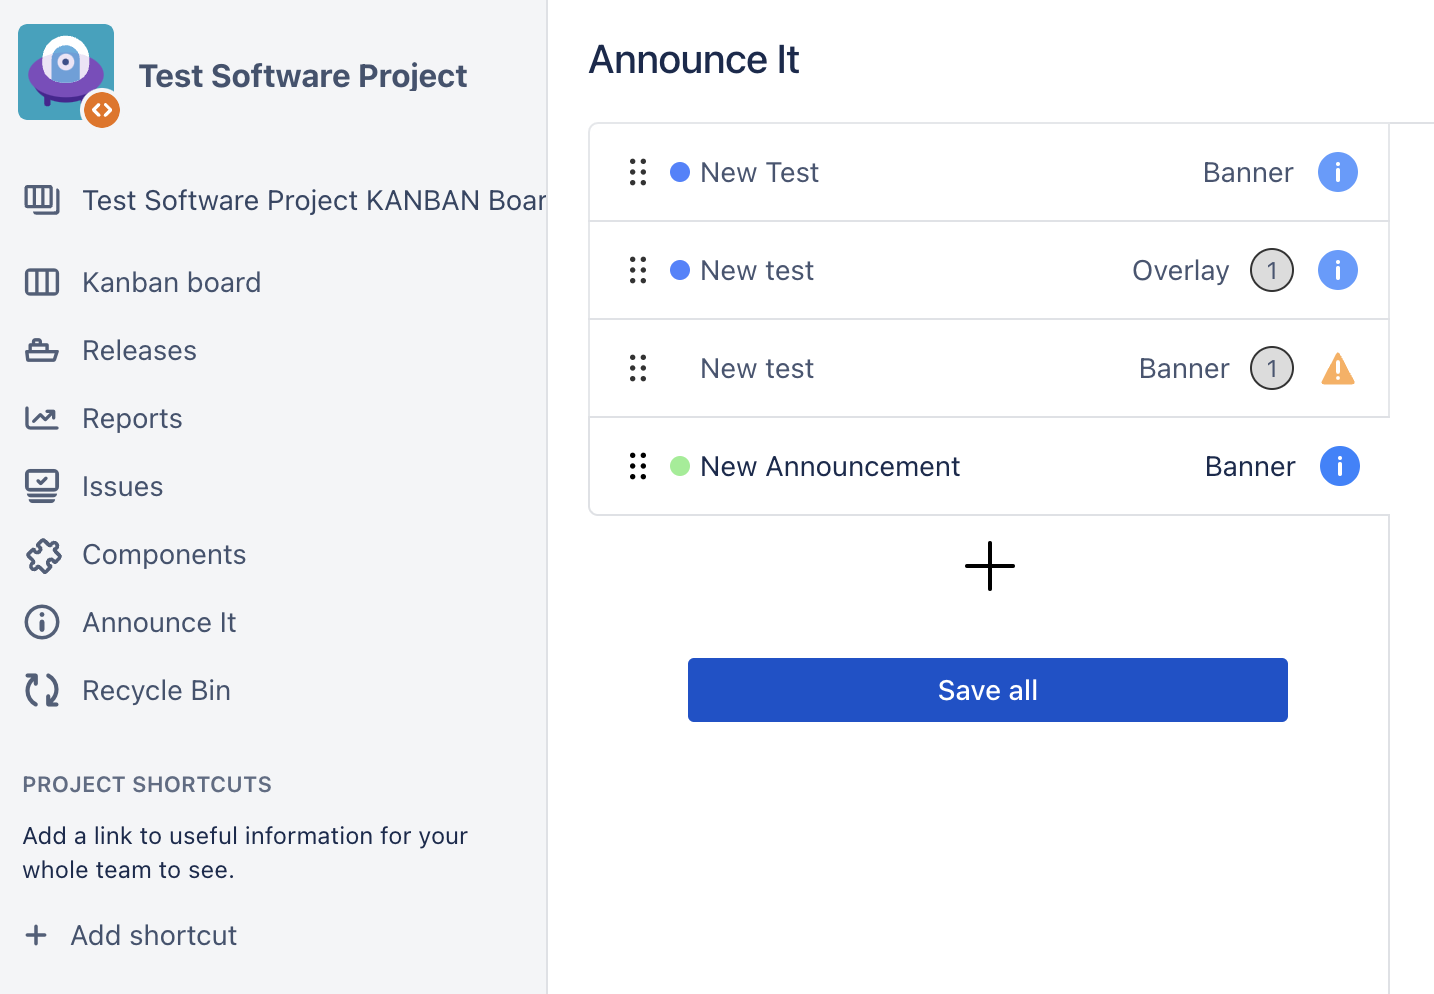
Project-Admins are eligible to configure and edit announcements inside the realm of the specific project they are in charge of.
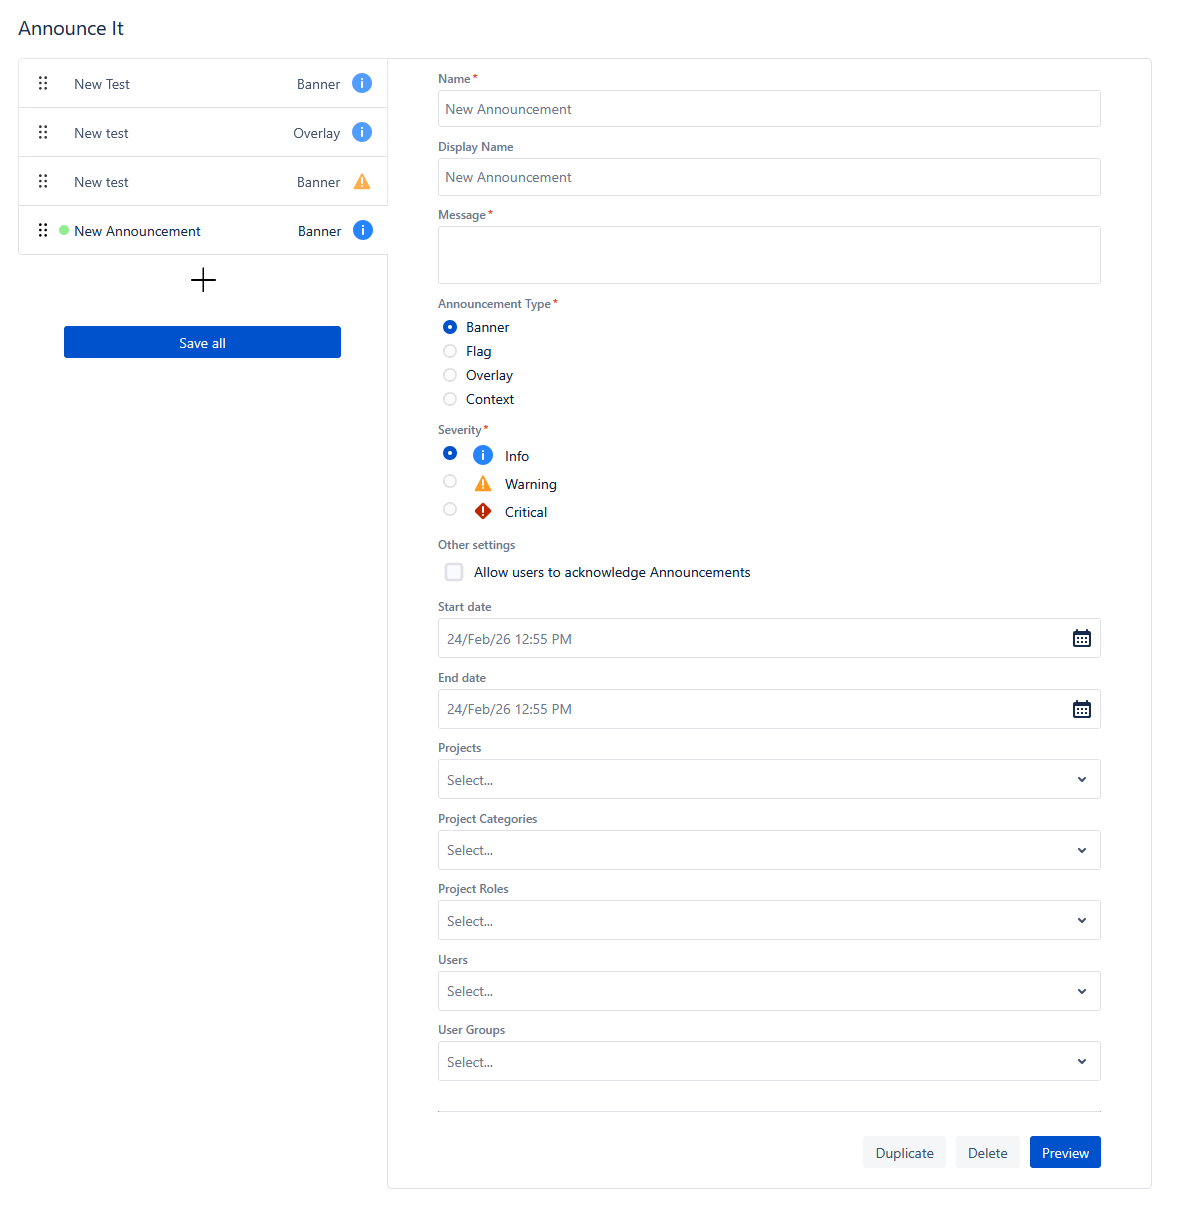
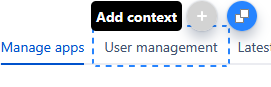
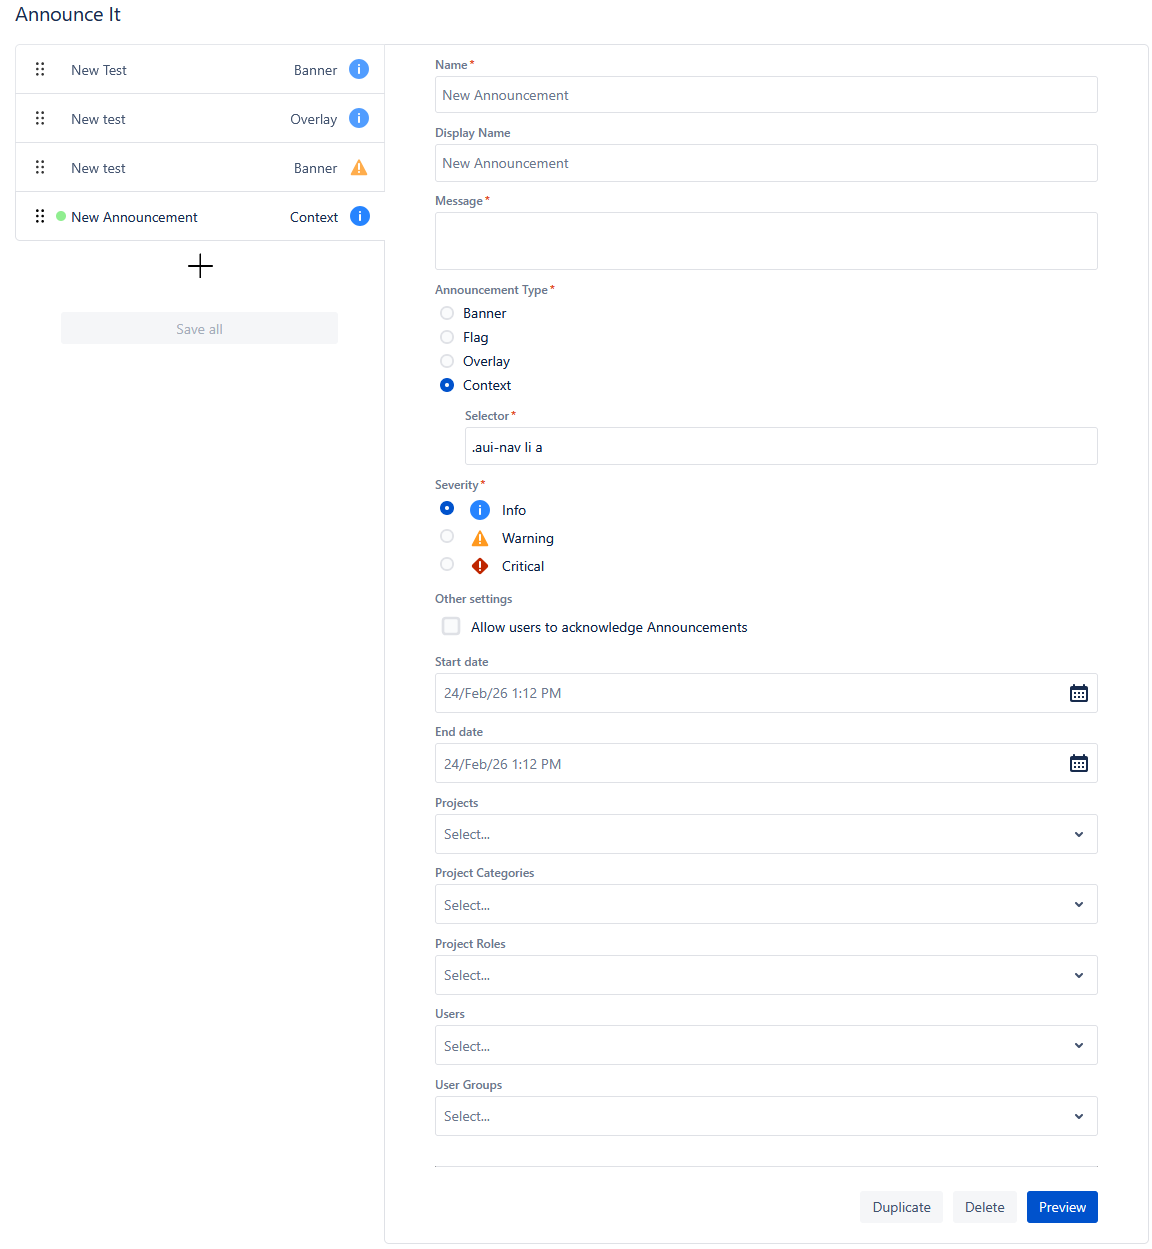
3. Create an announcement
Easily create a new announcement by clicking the “+” button on the bottom of the left configuration panel. You will be asked to specify a name and a message for the announcement. Next, you can decide in which style it should be displayed to your team. Specify the severity of the announcement and set the start and end date.
Creating a new announcement
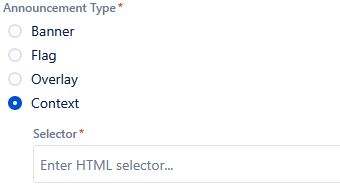
Announcement Type Context
When choosing this type, you can enter an HTML selector the message should be bind to.
Choosing Context Type
Context Selector
Alternatively you can use the Context Selector to directly choose the element to bind your contect to with a mouse click. For this you have to go to the page the binding should be on and click on the questionmark in the top right corner (IMAGE). Choose “Announce It: Pick Announcement Location“.
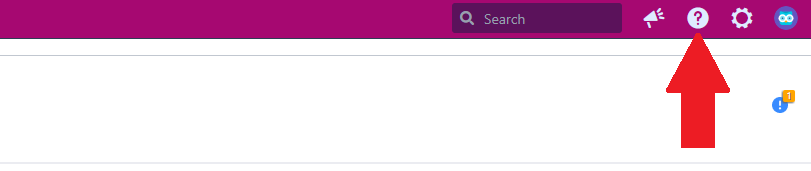
The icon to click on to get to the context selector

Hovering reveals the HTML Selectors
By hovering over the elements you can see the HTML Selectors now. To add an annnouncement, click on the element you want it to be bind to and choose the left icon.
Selecting an option
You get directed to the Announce It App where you can set the settings as usual. By clicking the right icon you copy the selector and have to manually direct to the App.
You can go out of the context selector mode the same way you got in.
Automatic direction to the Announce It App
Example of context Announcements
Configure Announcement Visibility
When using the project selection dropdown, only users who are involved with these projects will be notified by the announcement. The same is valid for project categories. Only users who are eligible to view these categories will be able to also view the announcement. You can even specify distinct users, user groups, or project roles that should be able to view the announcement.
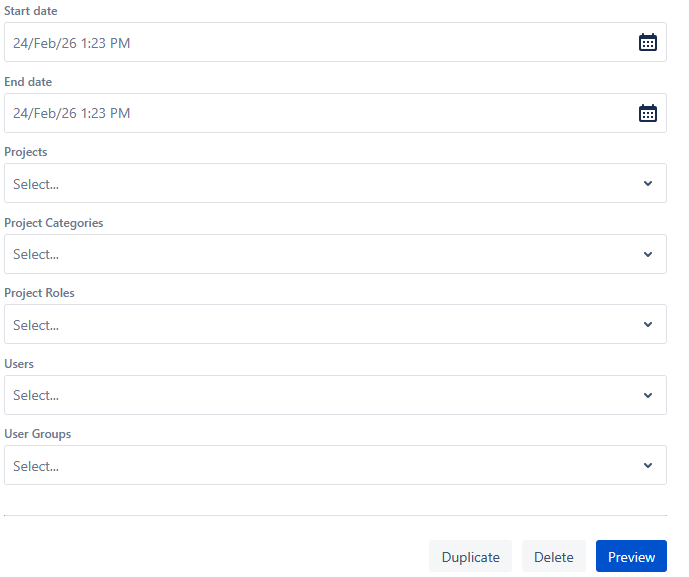
Configure Announcement visibility
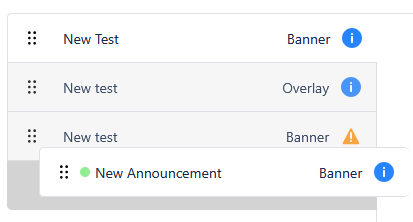
Set the order of display
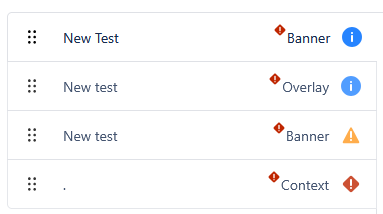
In case of multiple announcements that are activated, you can set an order of display for the announcements. Take a look at the list and drag and drop the elements into the order you need.
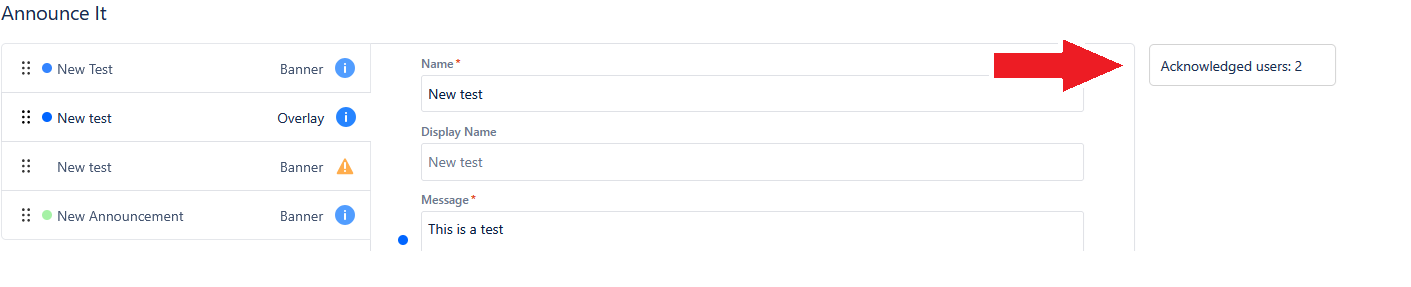
4. Track Announcement Views
Each announcement includes an "Acknowledge" button. Once a user clicks this button, the announcement will no longer be visible to them. You can monitor the number of users who have acknowledged an announcement by checking the "Acknowledged Users" count on the right side of the Announce It configuration panel.

5. View Announcement Preview
Utilizing the preview feature at the bottom of the configuration form, you can monitor the look and feel of your announcement. Click the button and check if the display fits your needs and works in the desired way.
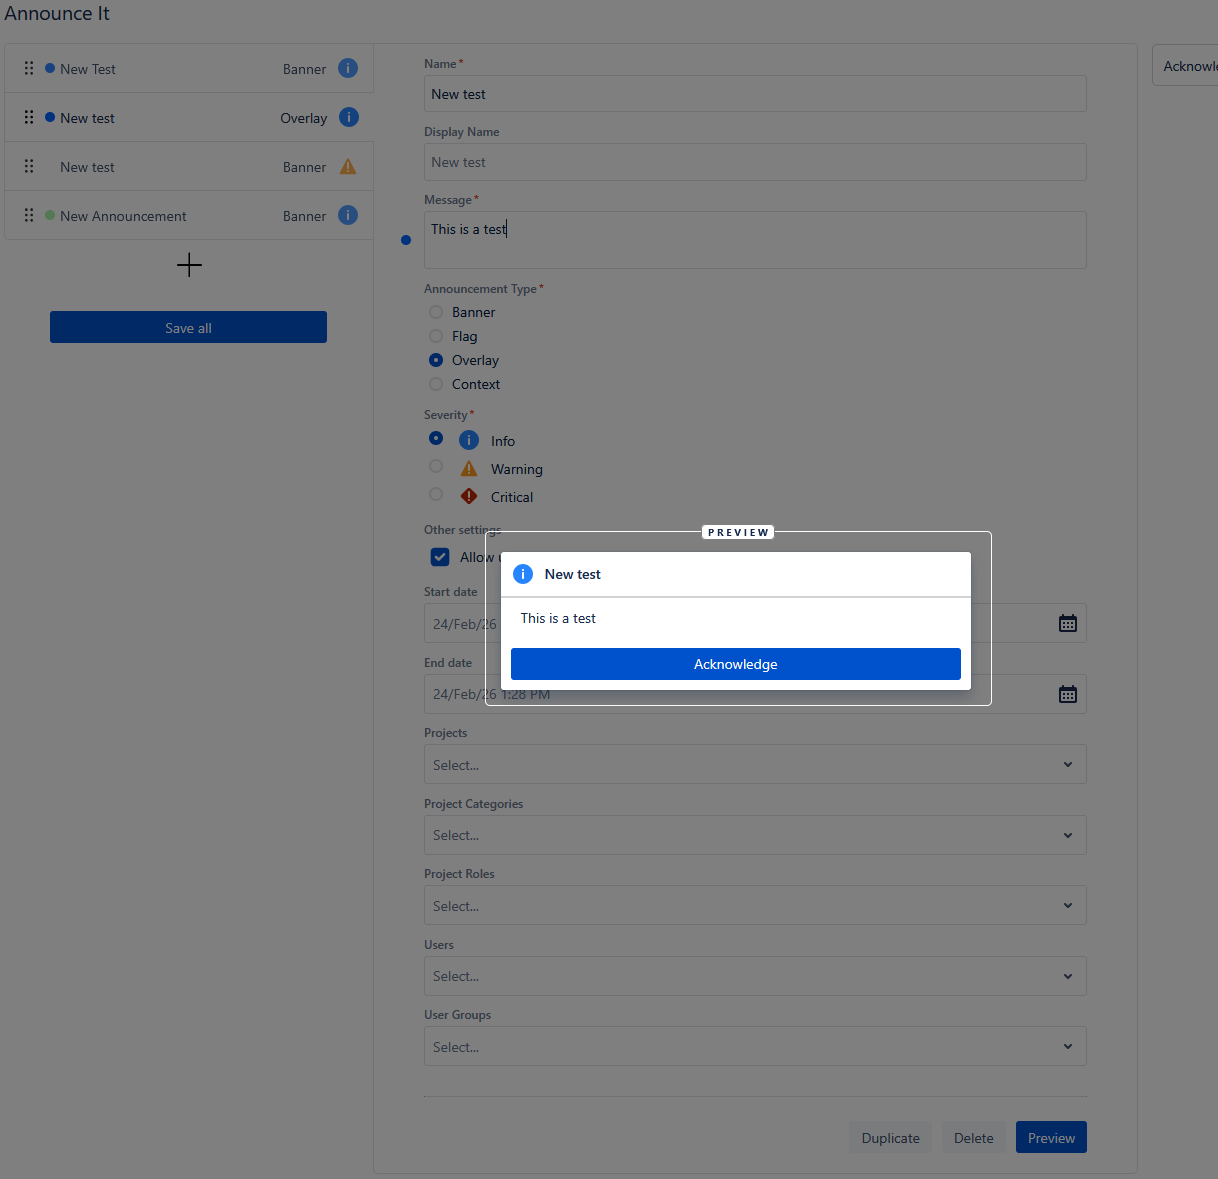
View Announcement preview (overlay)