Enhanced Custom Fields for Jira
Enhanced Custom Fields for Jira is an application that provides display of in-depth data about an issue directly inside the issue view. Get access to valuable information such as:
Resolved by
Comment Count
Simple Traffic Lights with Searcher
Attachment Count
First comment
Formatted Date with searcher
Most recent comment
Most recent comment Author
Number of sub-tasks
Group picker
Previous assignee
All assignees of an Issue
Age of the issue
1. First Steps
Check the Atlassian marketplace for Enhanced Custom Fields for jira and download the app from t2consult. Install it inside your jira instance just like any other app.
2. Create/Edit Issue and apply enhanced custom fields
View any issue inside the detail view and click on the “admin” button to choose “add field”.
Create your desired field making use of the prefix “enhanced” for easier organization at a later point in time. Choose your desired custom field type and add it. A flag will show on the top right corner and your enhanced field will be added to the issue and into the view.
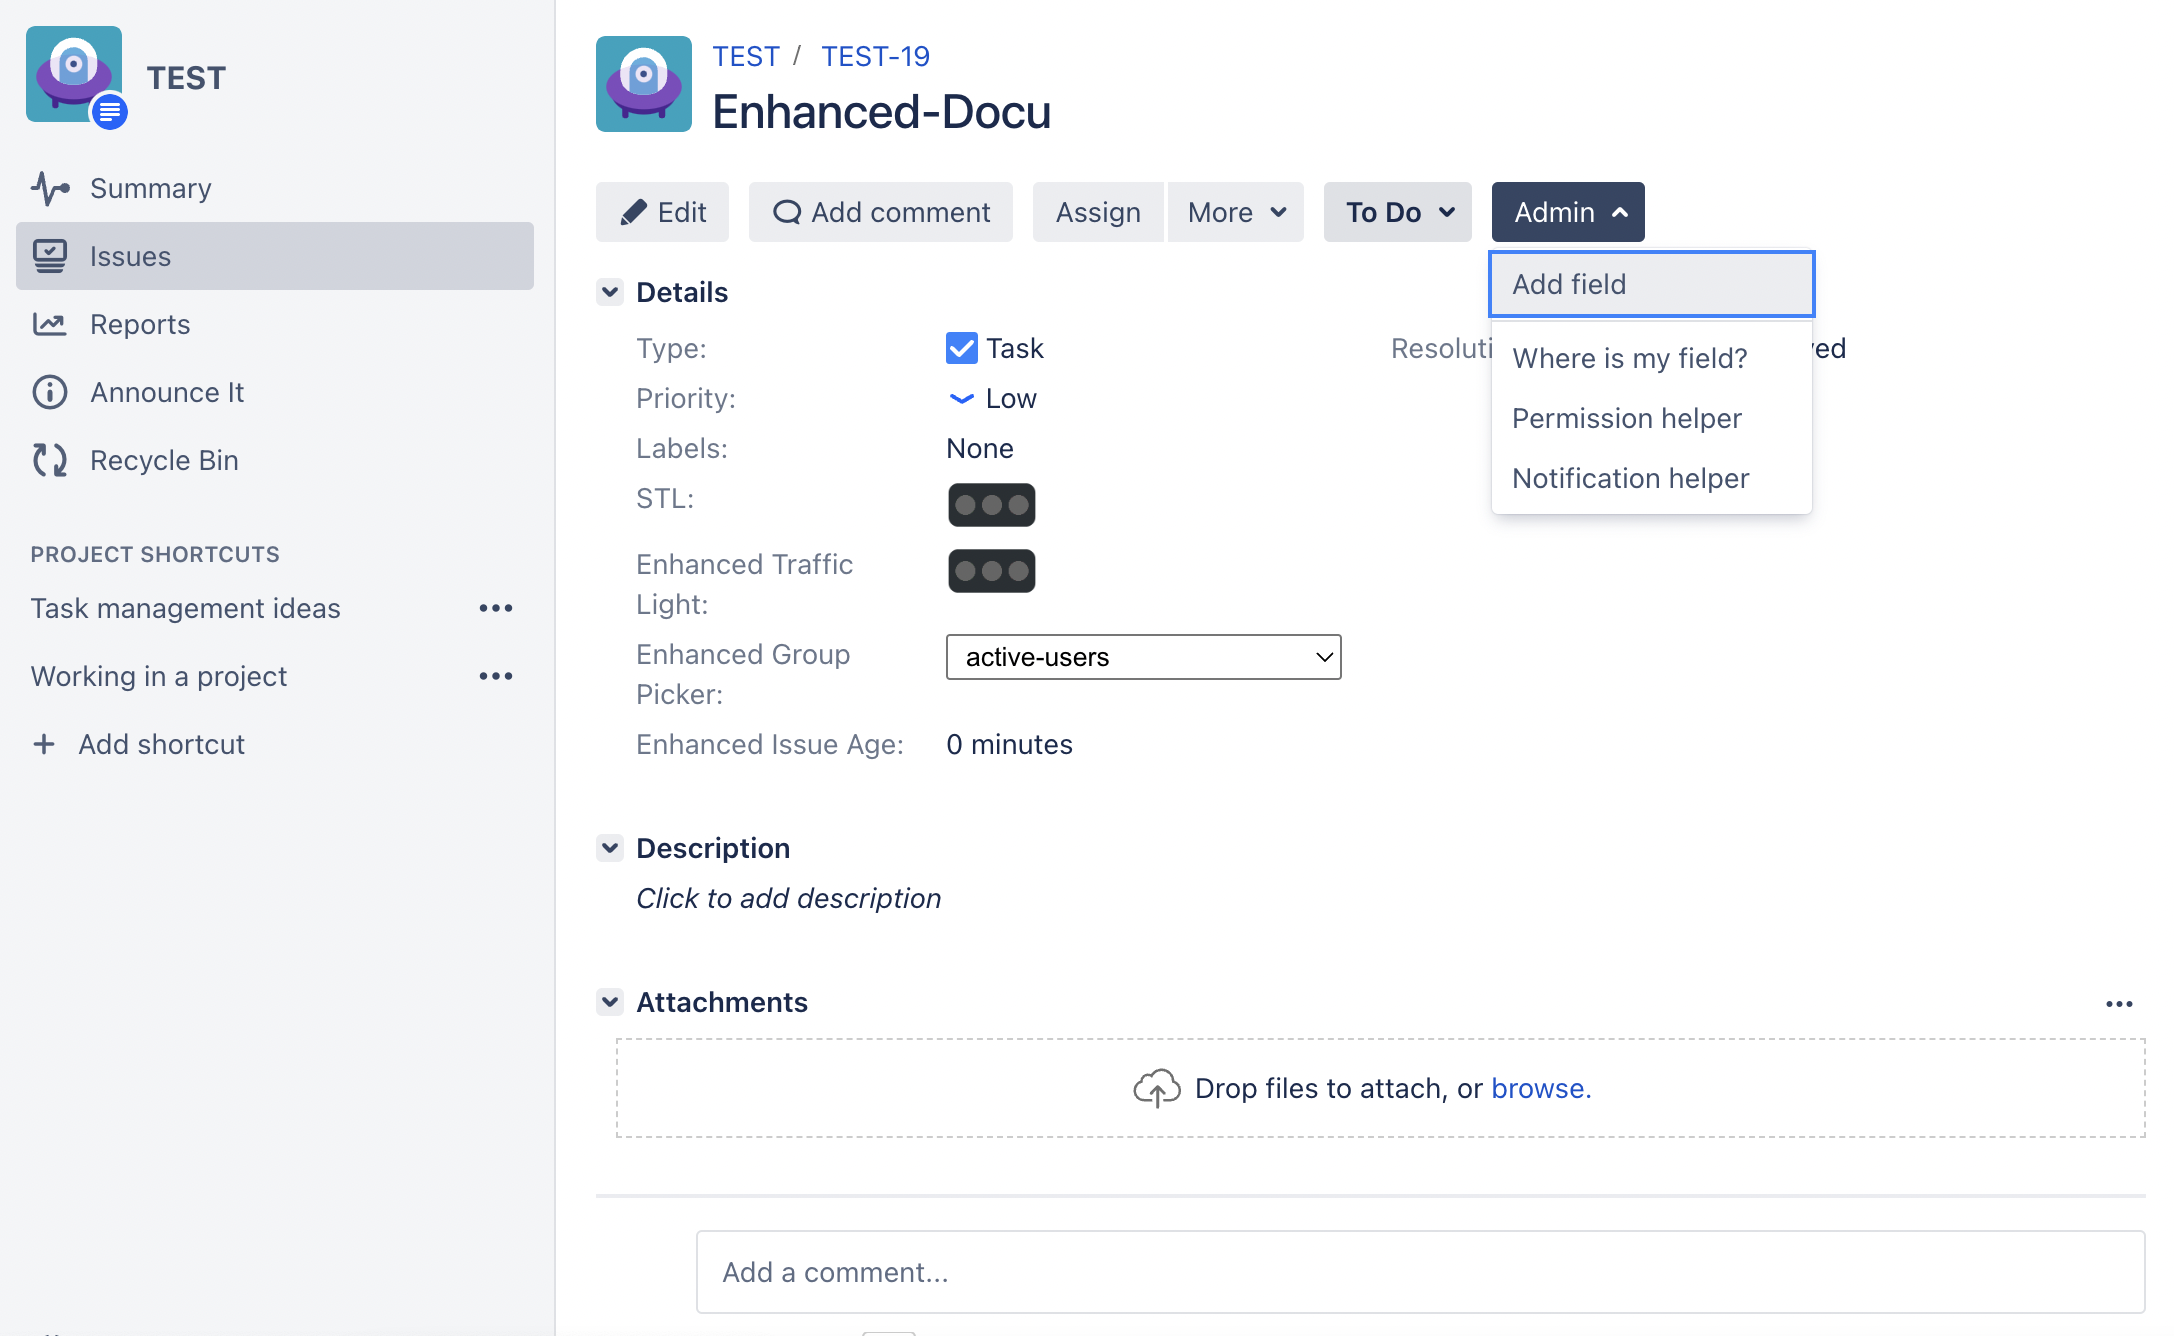
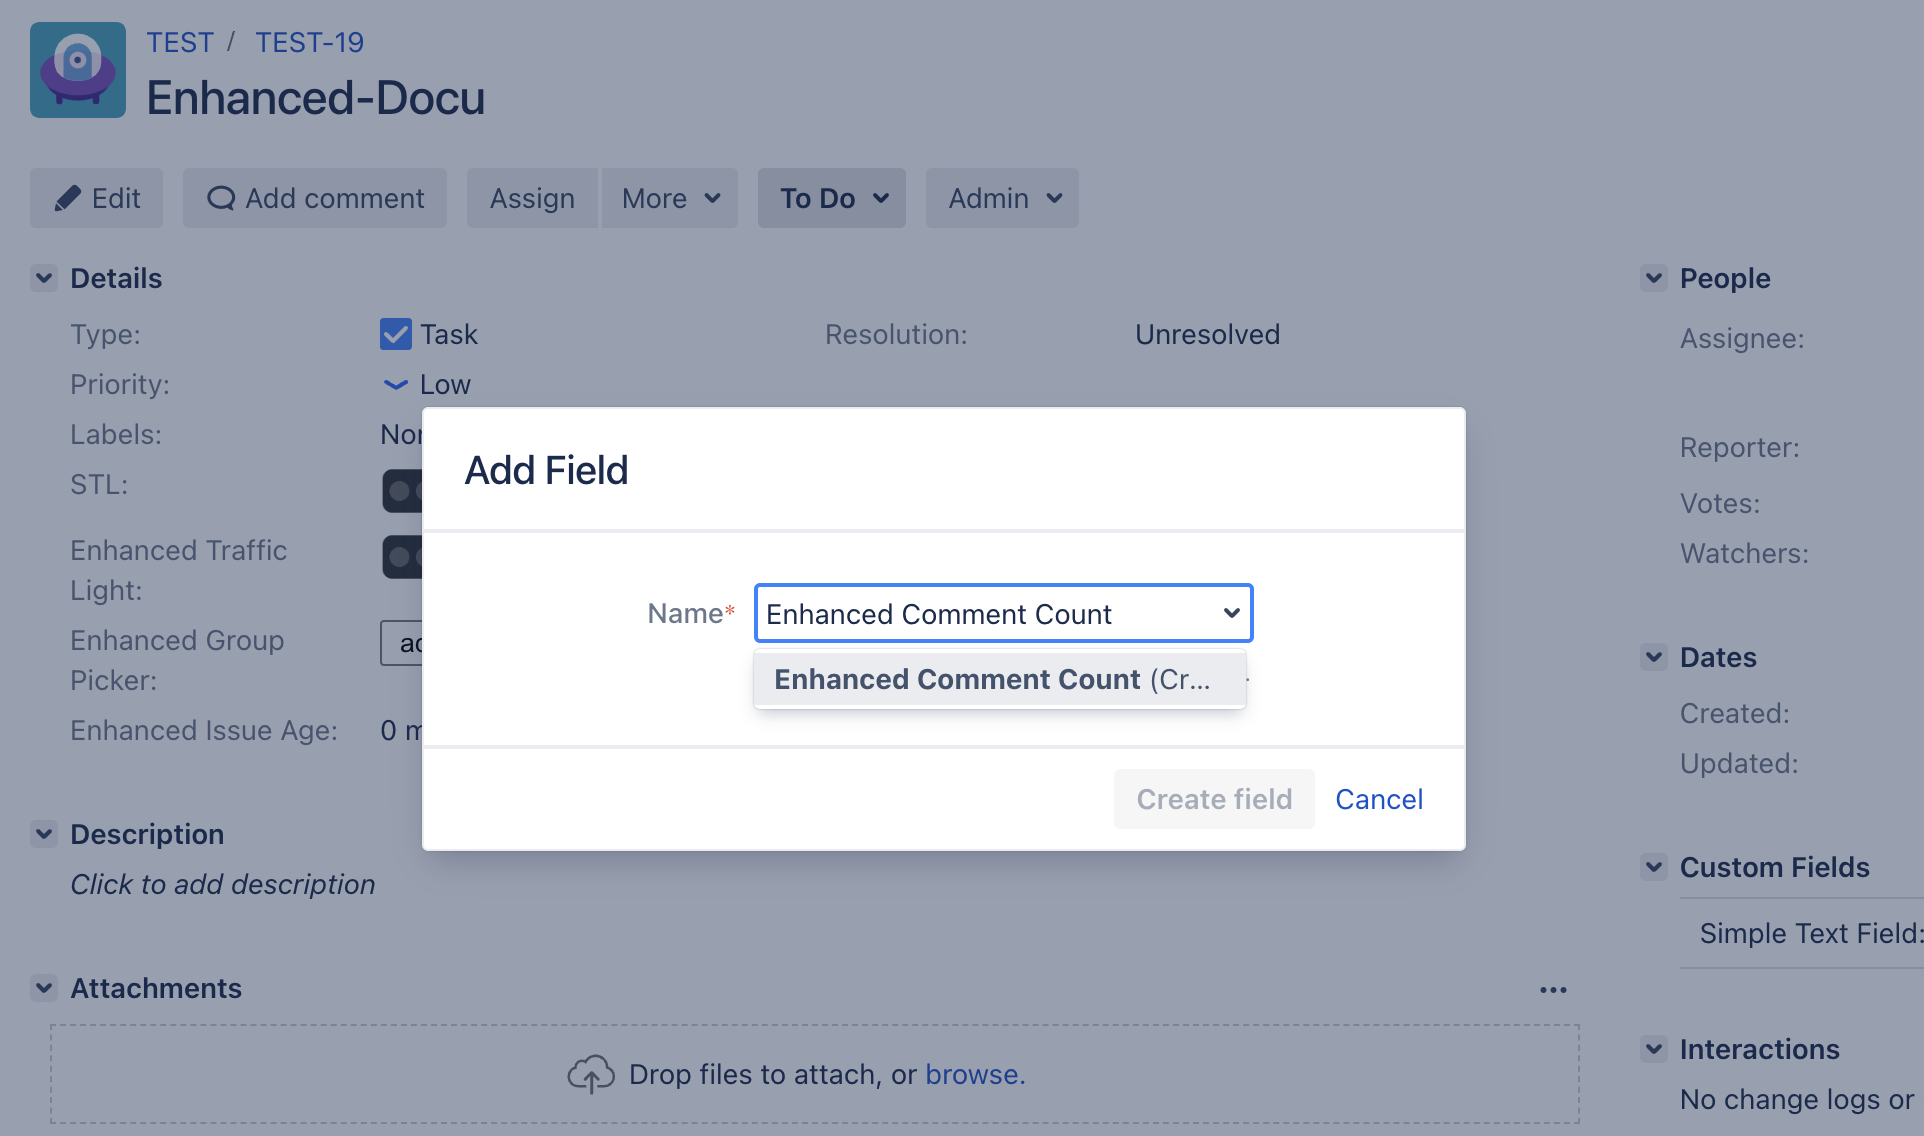
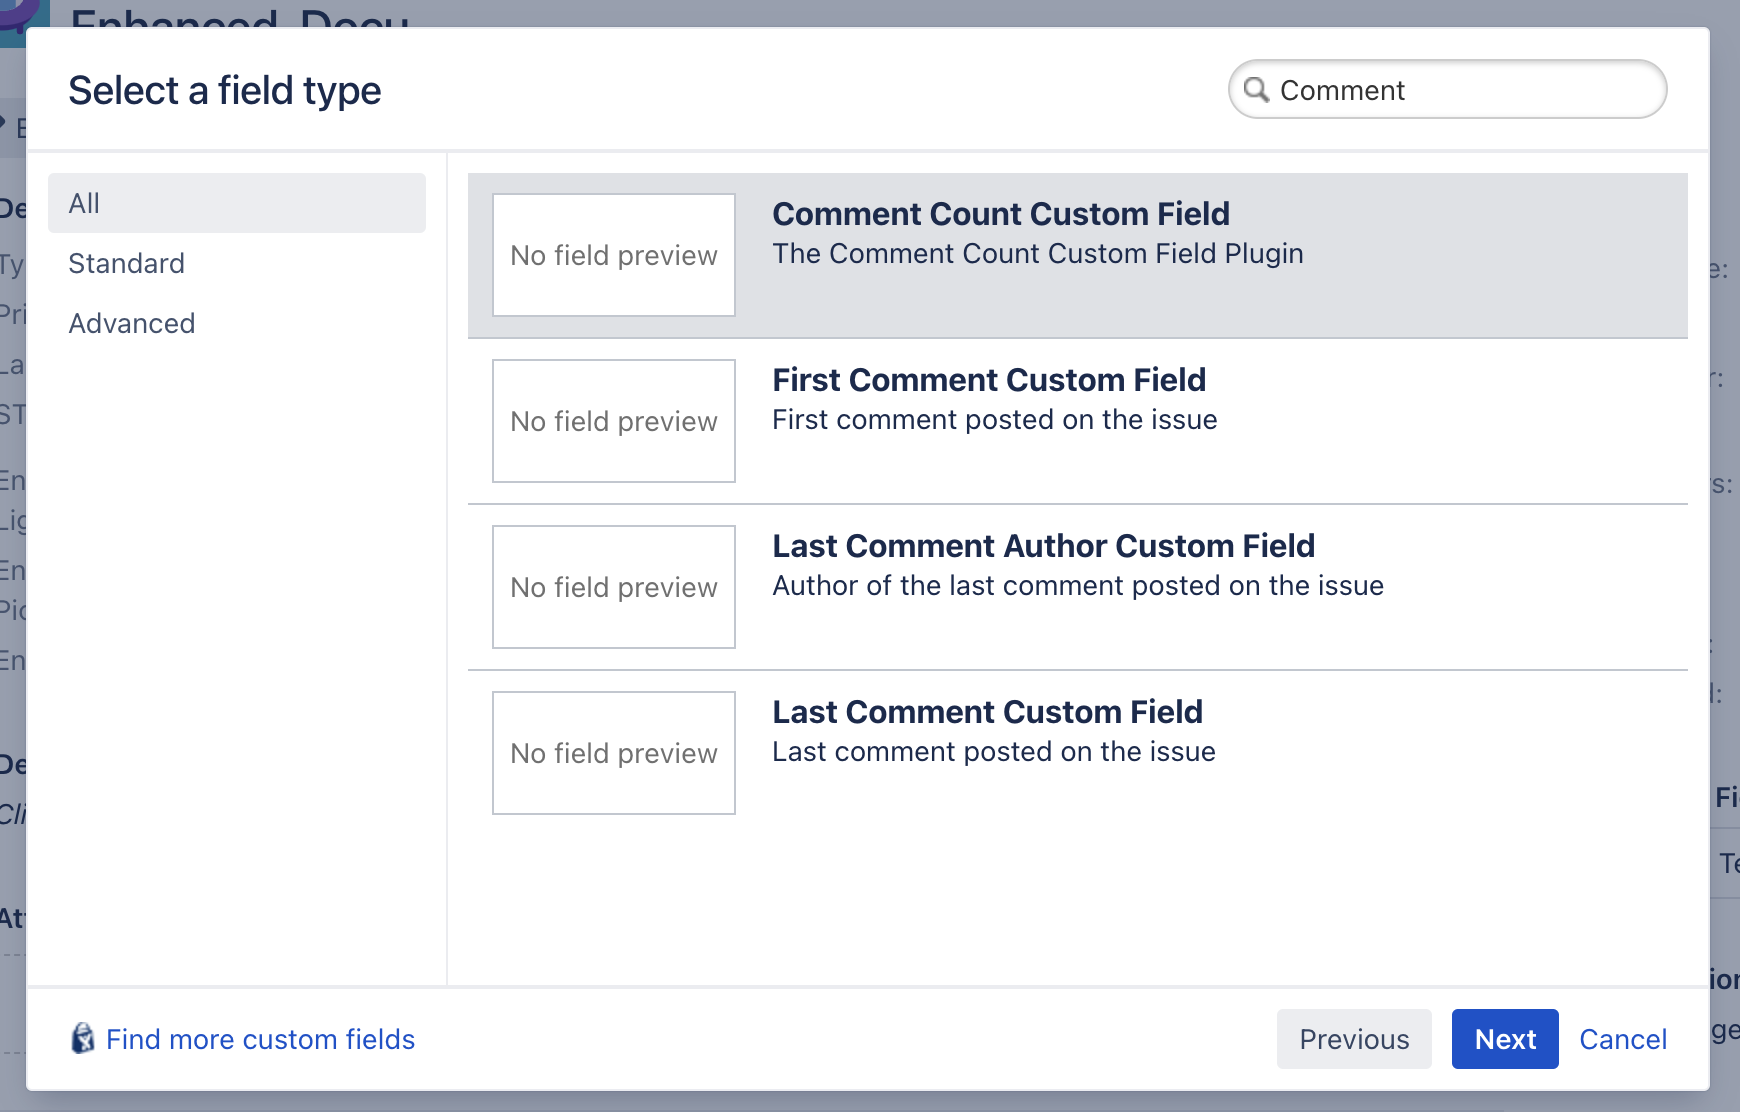
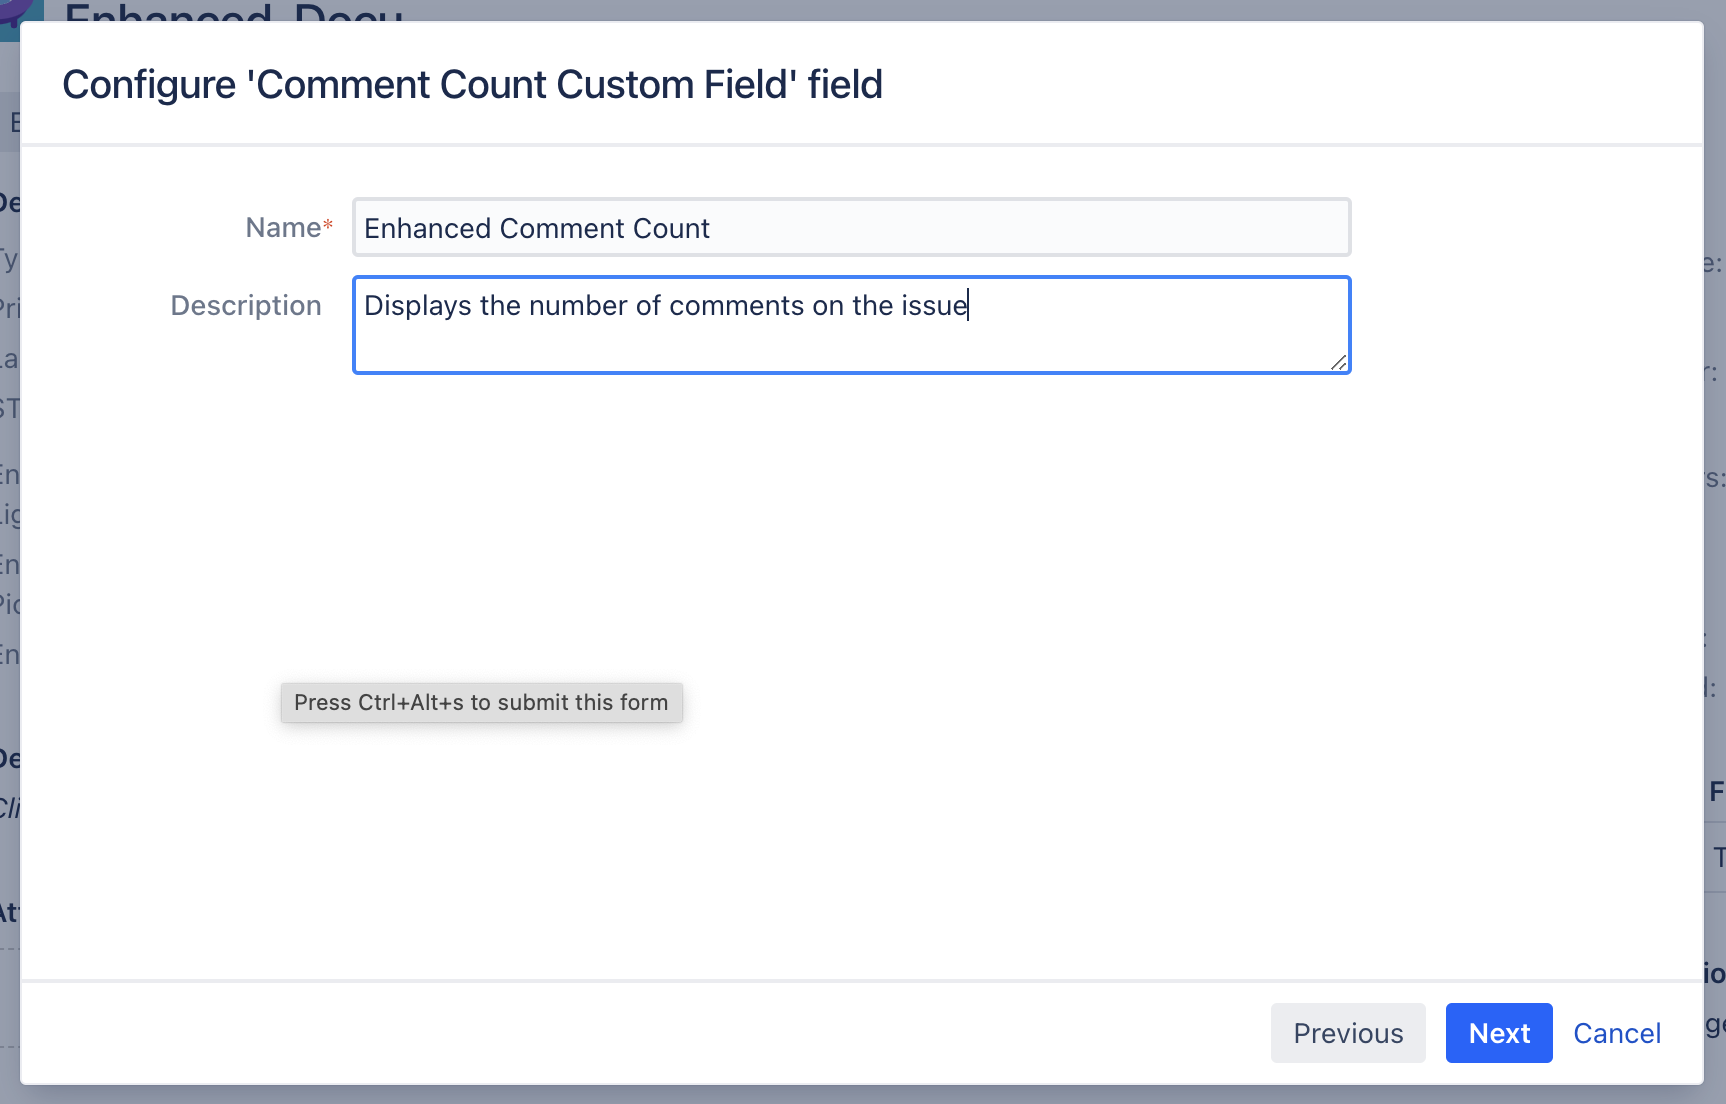
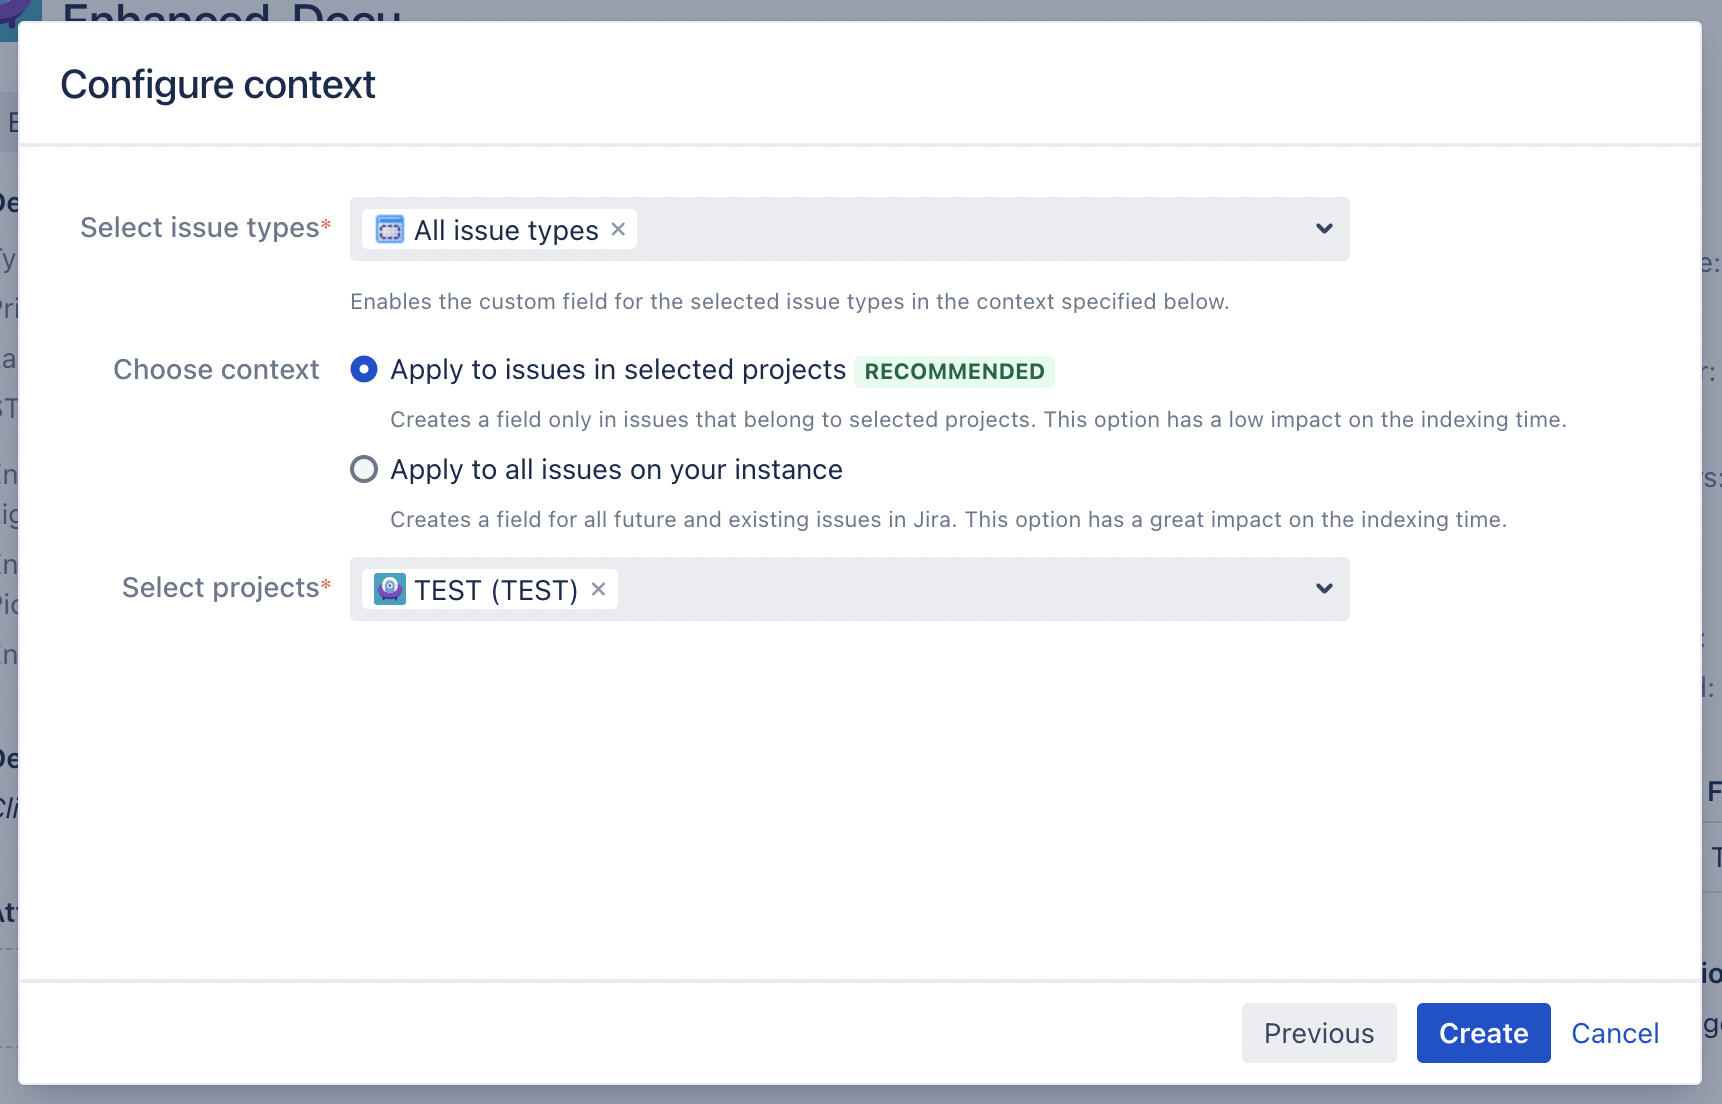
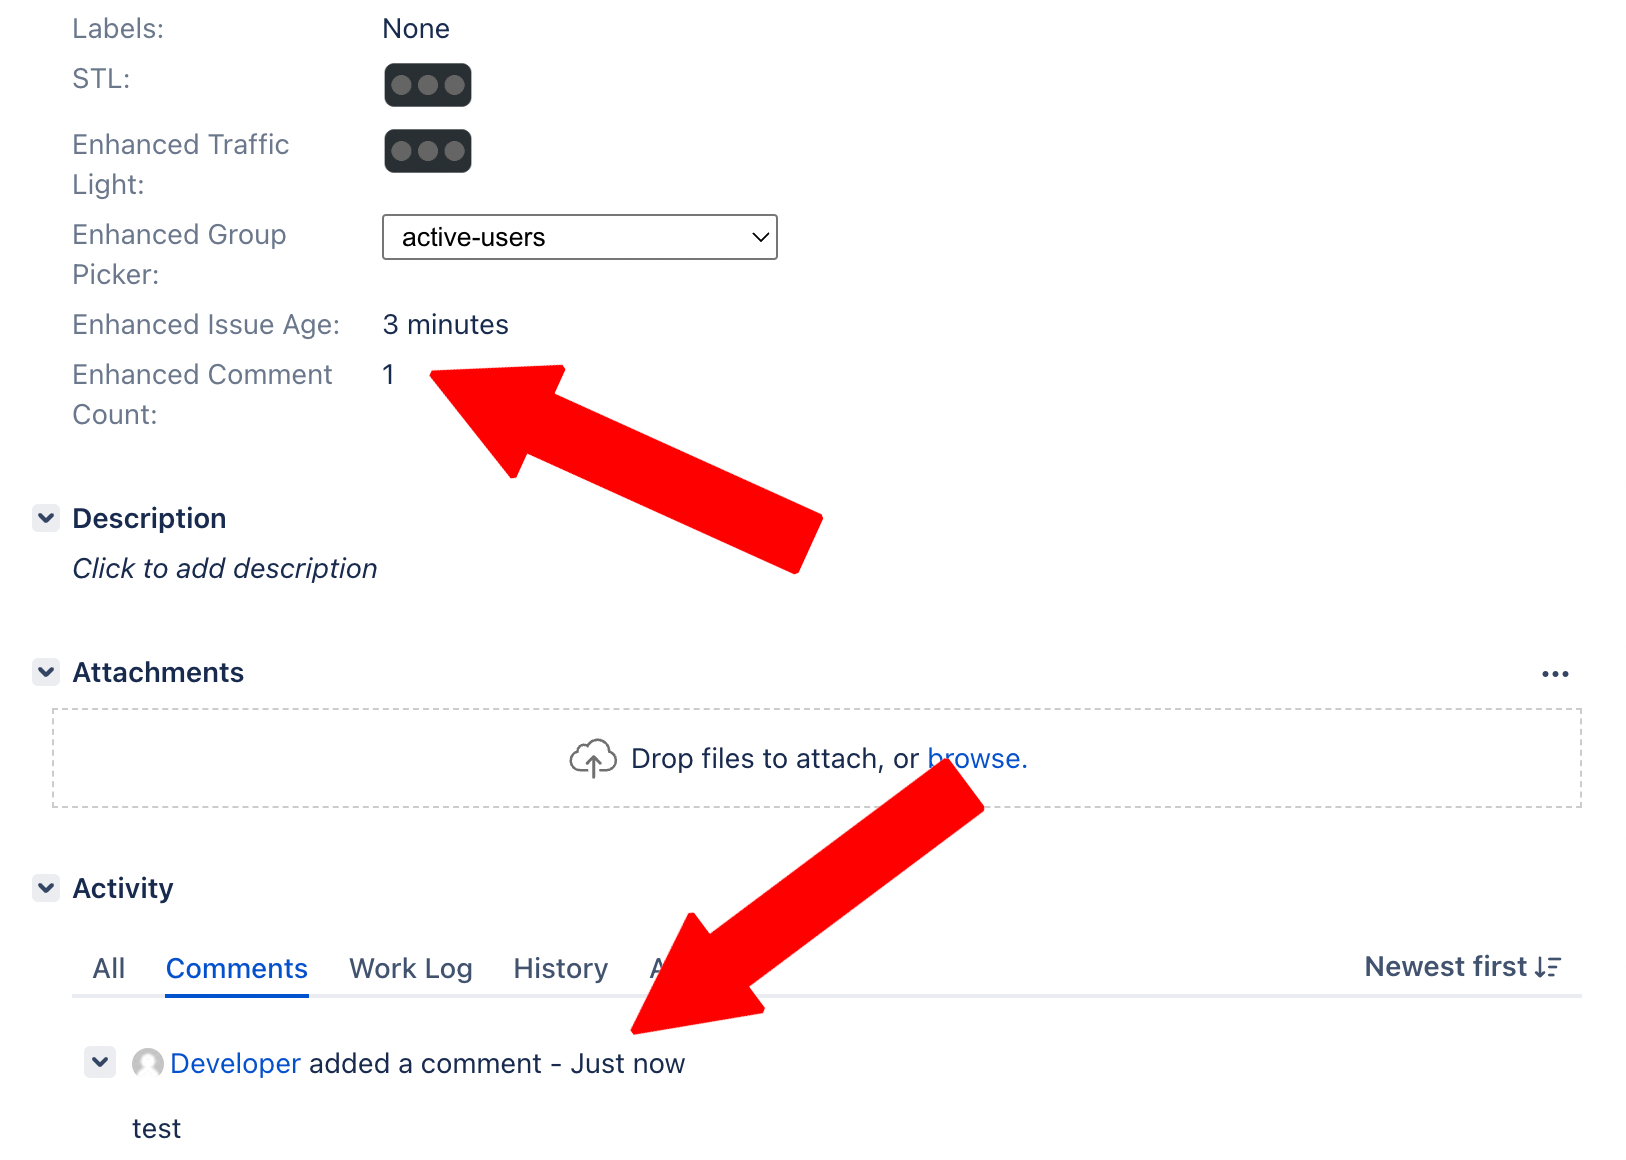
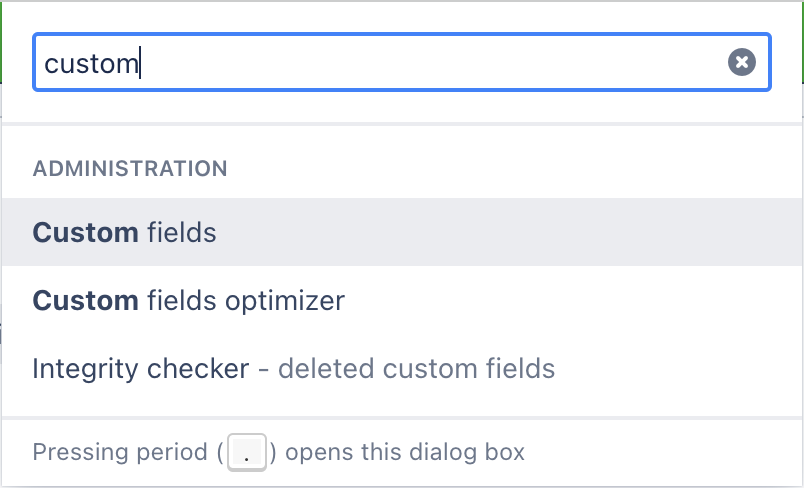
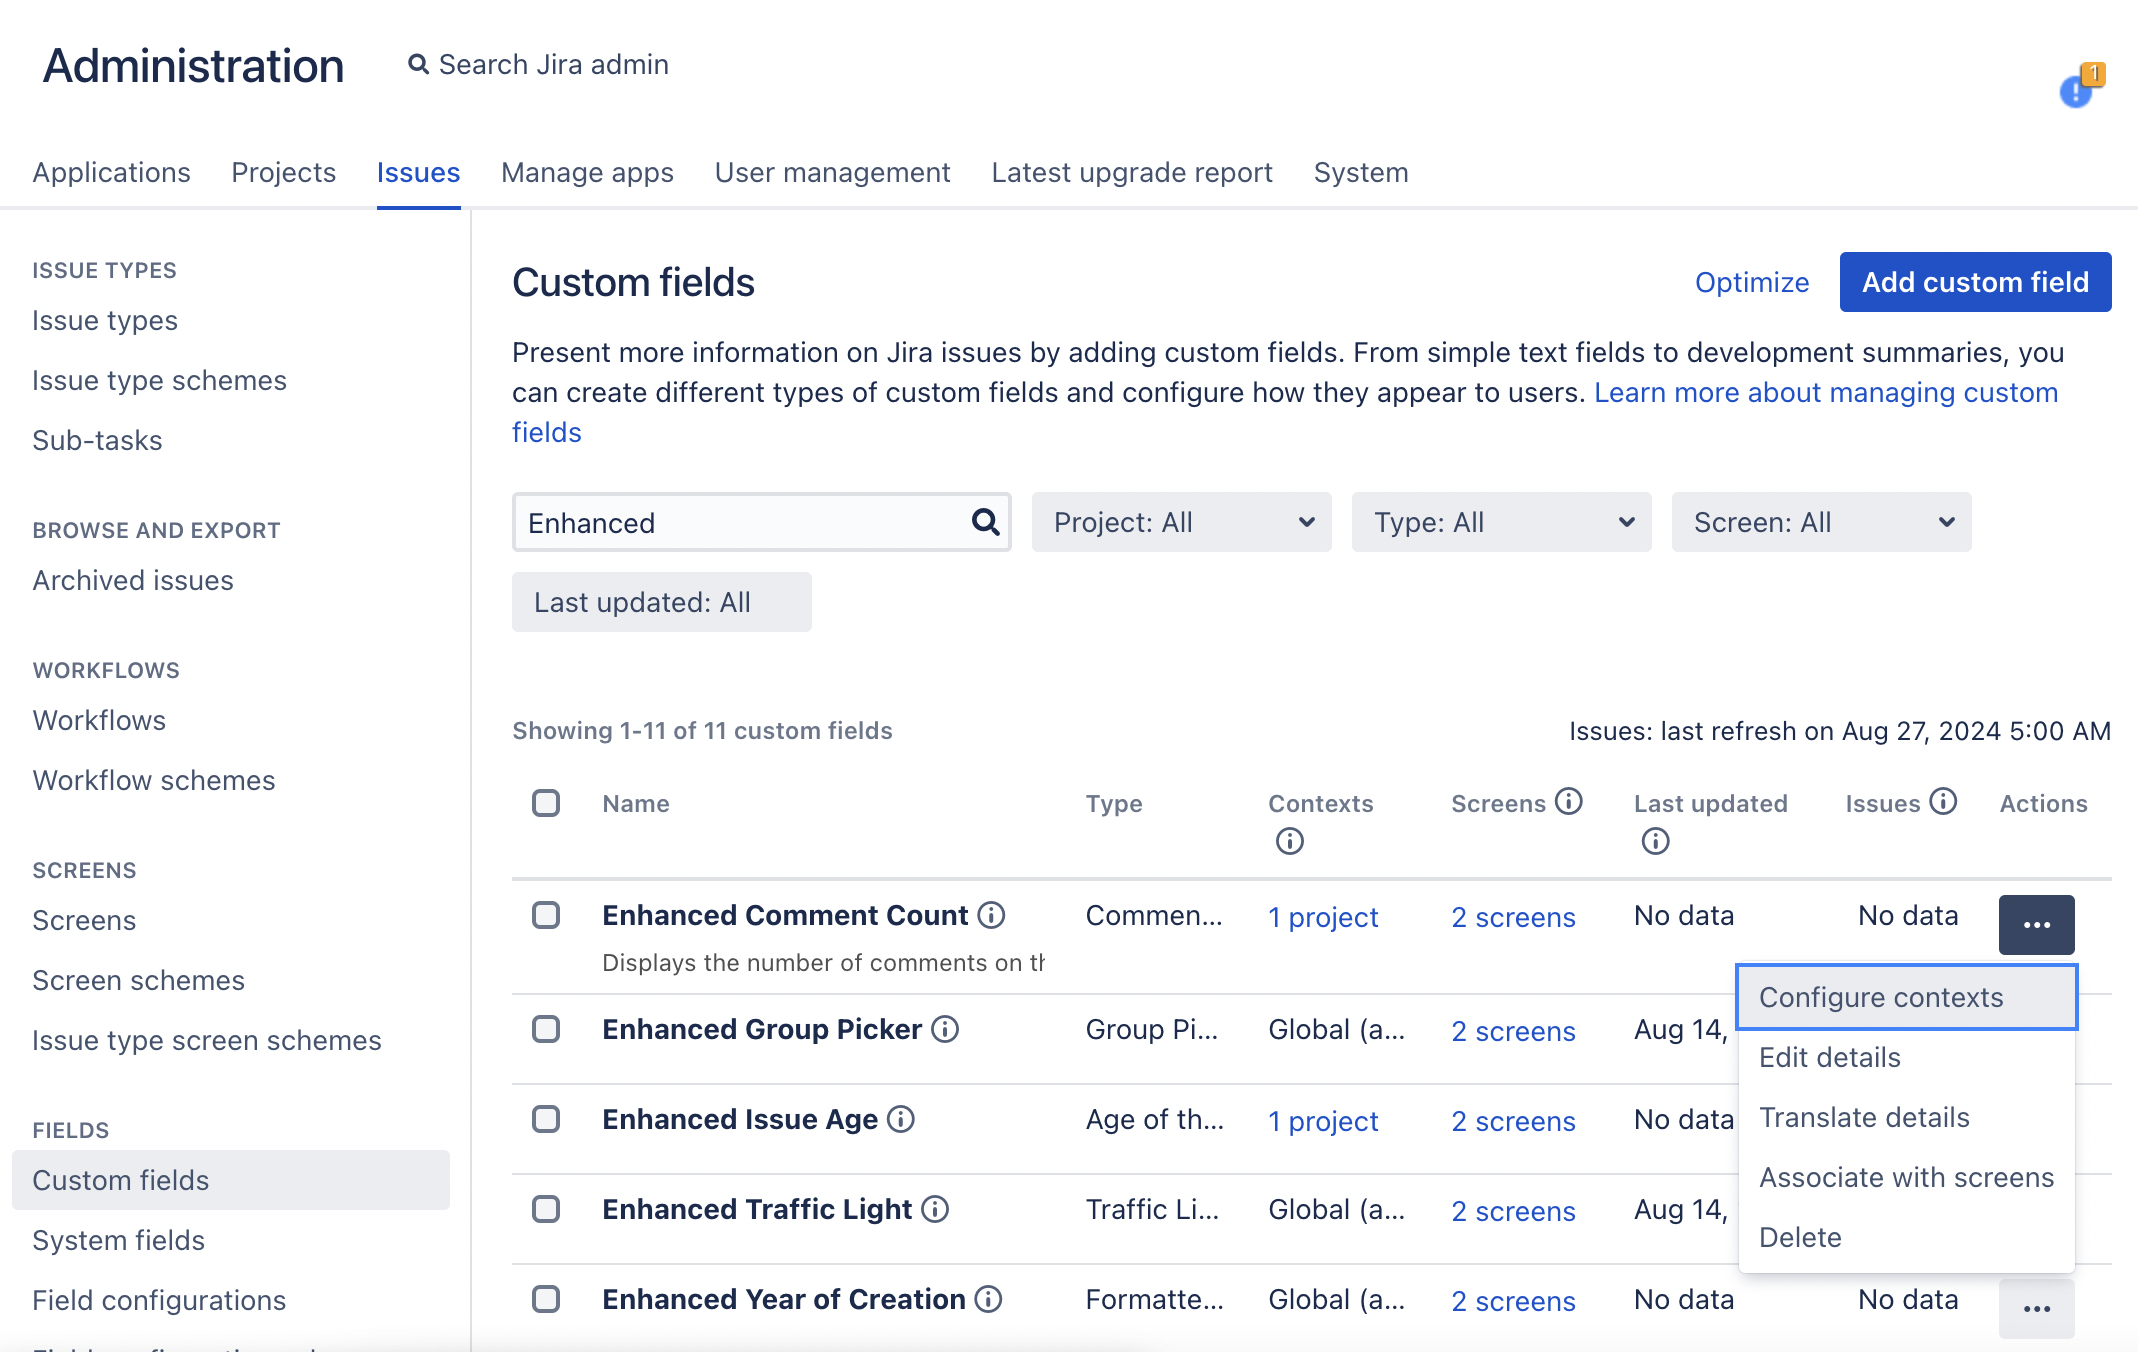
You can go back to changing the context for your created field later through the general jira administration. Find the field and click the three dots to access the contexts and change it from project based to global or vice versa or even add another project to the context.
3. Special Case: Formatted Date Field
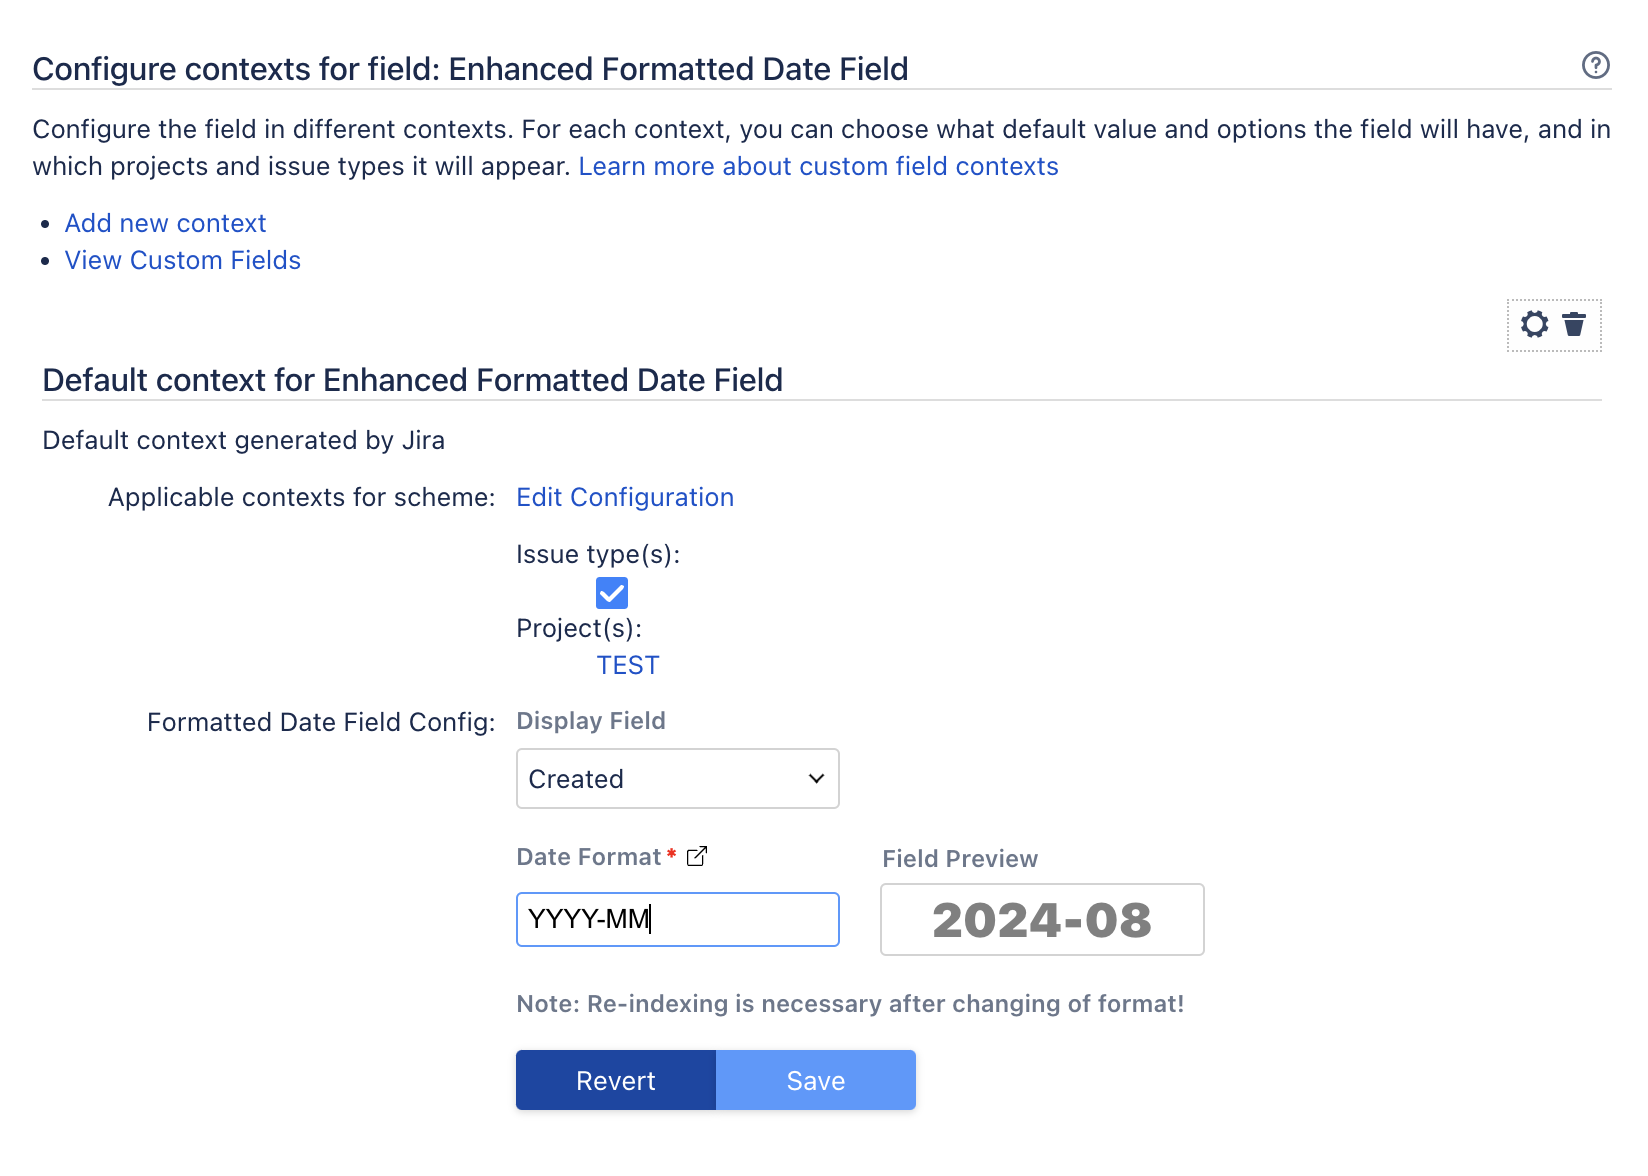
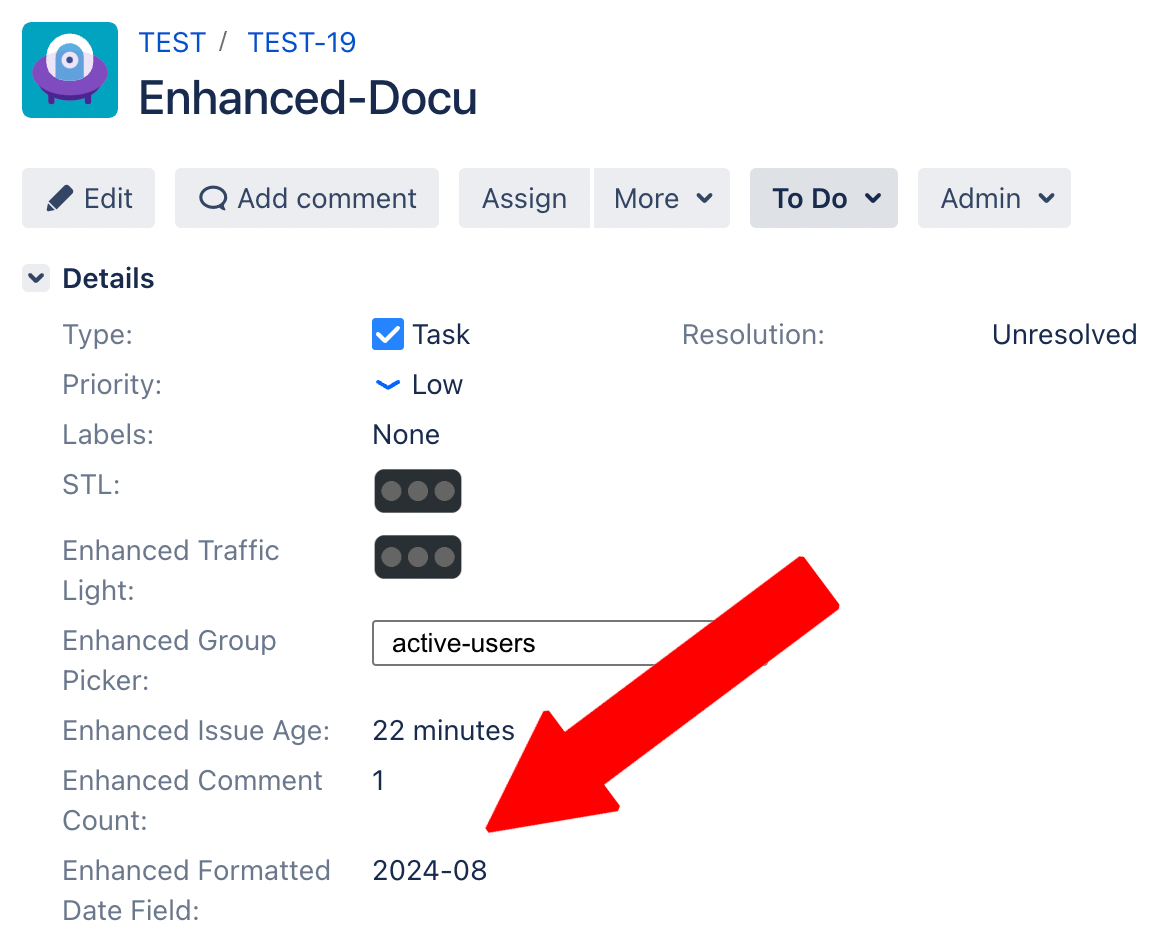
One powerful feature of Enhanced Custom Fields for jira is the formatted date field. The usage of this field requires a little more configuration in advance. Create the field in the same way explained in point 2. Go to the custom field settings in jira’s general configuration and find the enhanced formatted date field. Click the three dots and choose “configure contexts”. Below the screen usage configuration you will find the settings for your enhanced formatted date field. Set the format and which date value to use and save your settings. A re-index is recommended.
4. Enhanced Custom Fields Panel
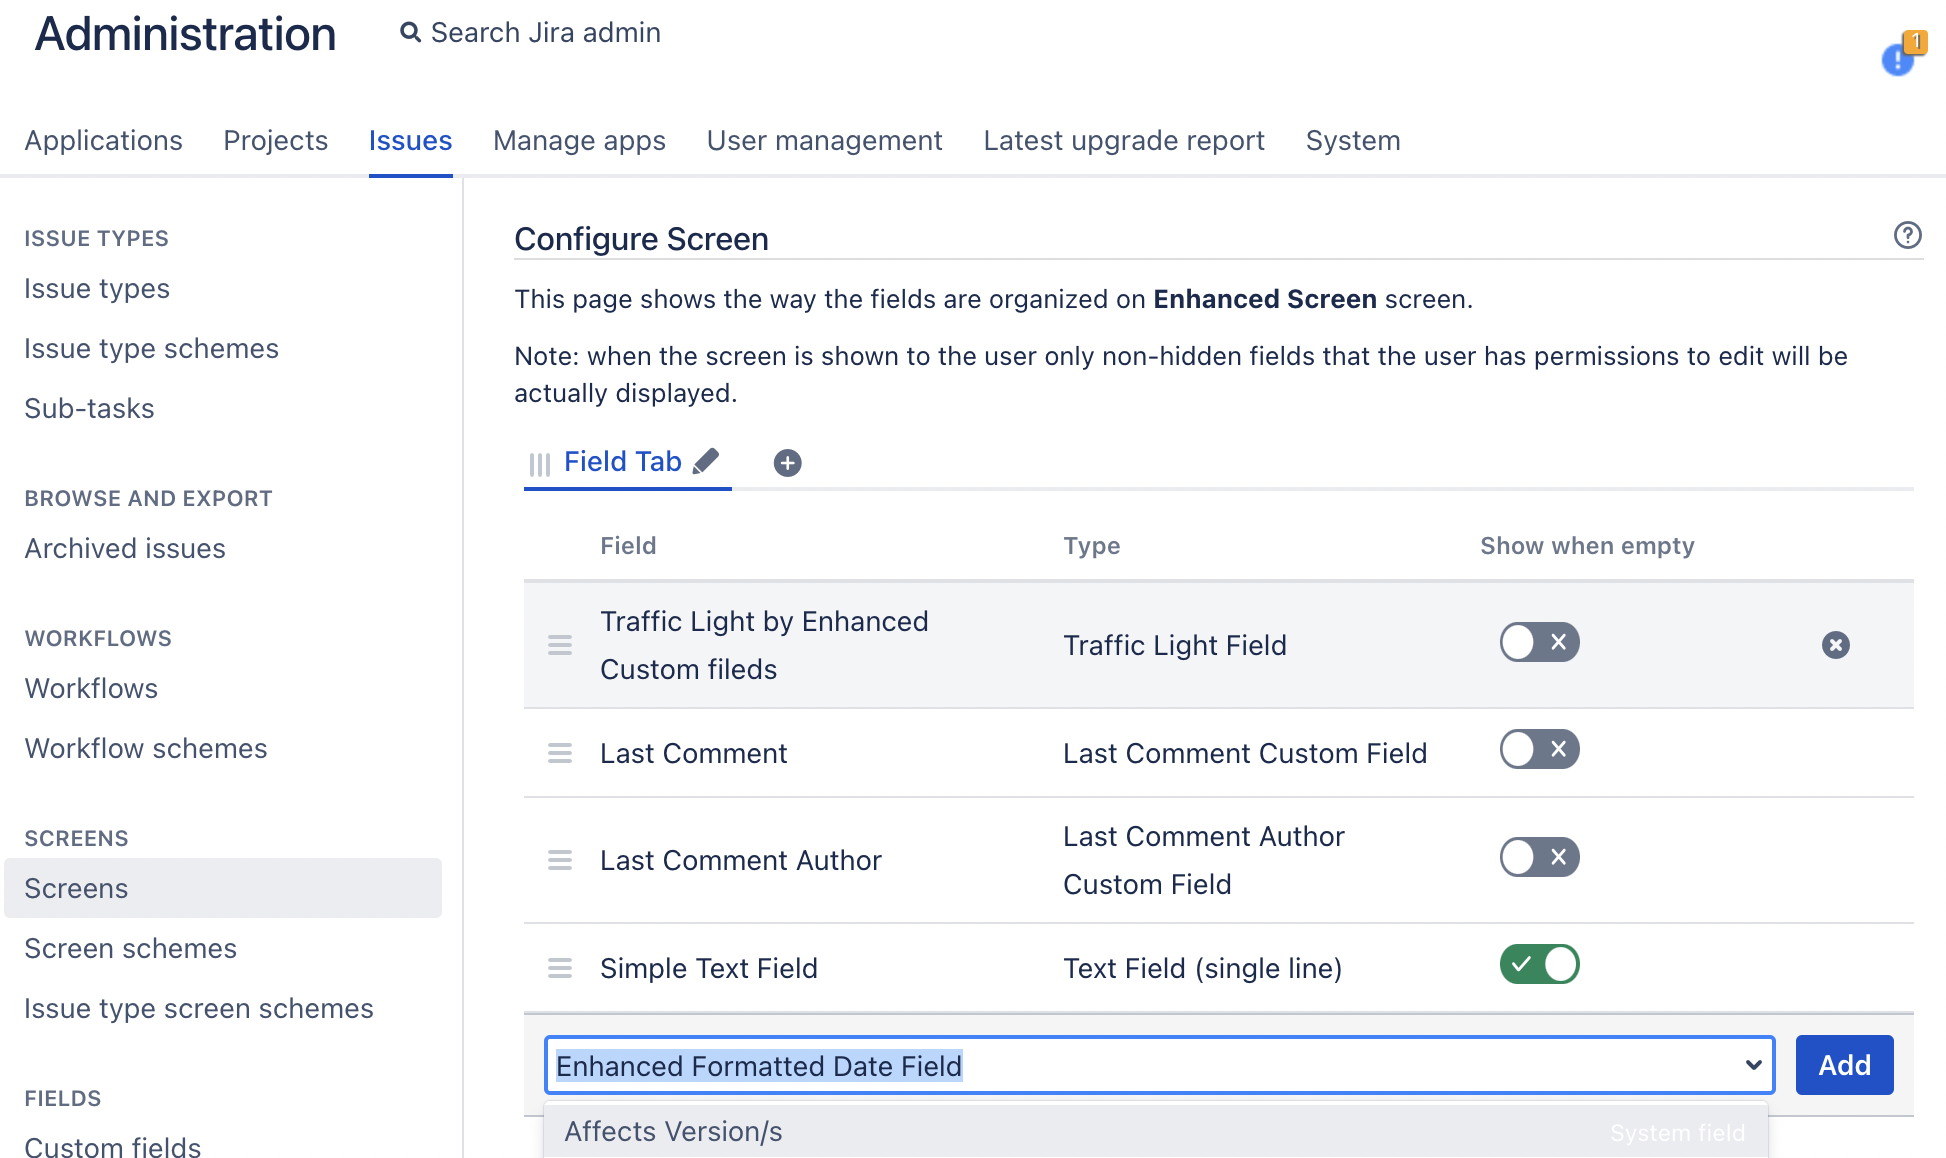
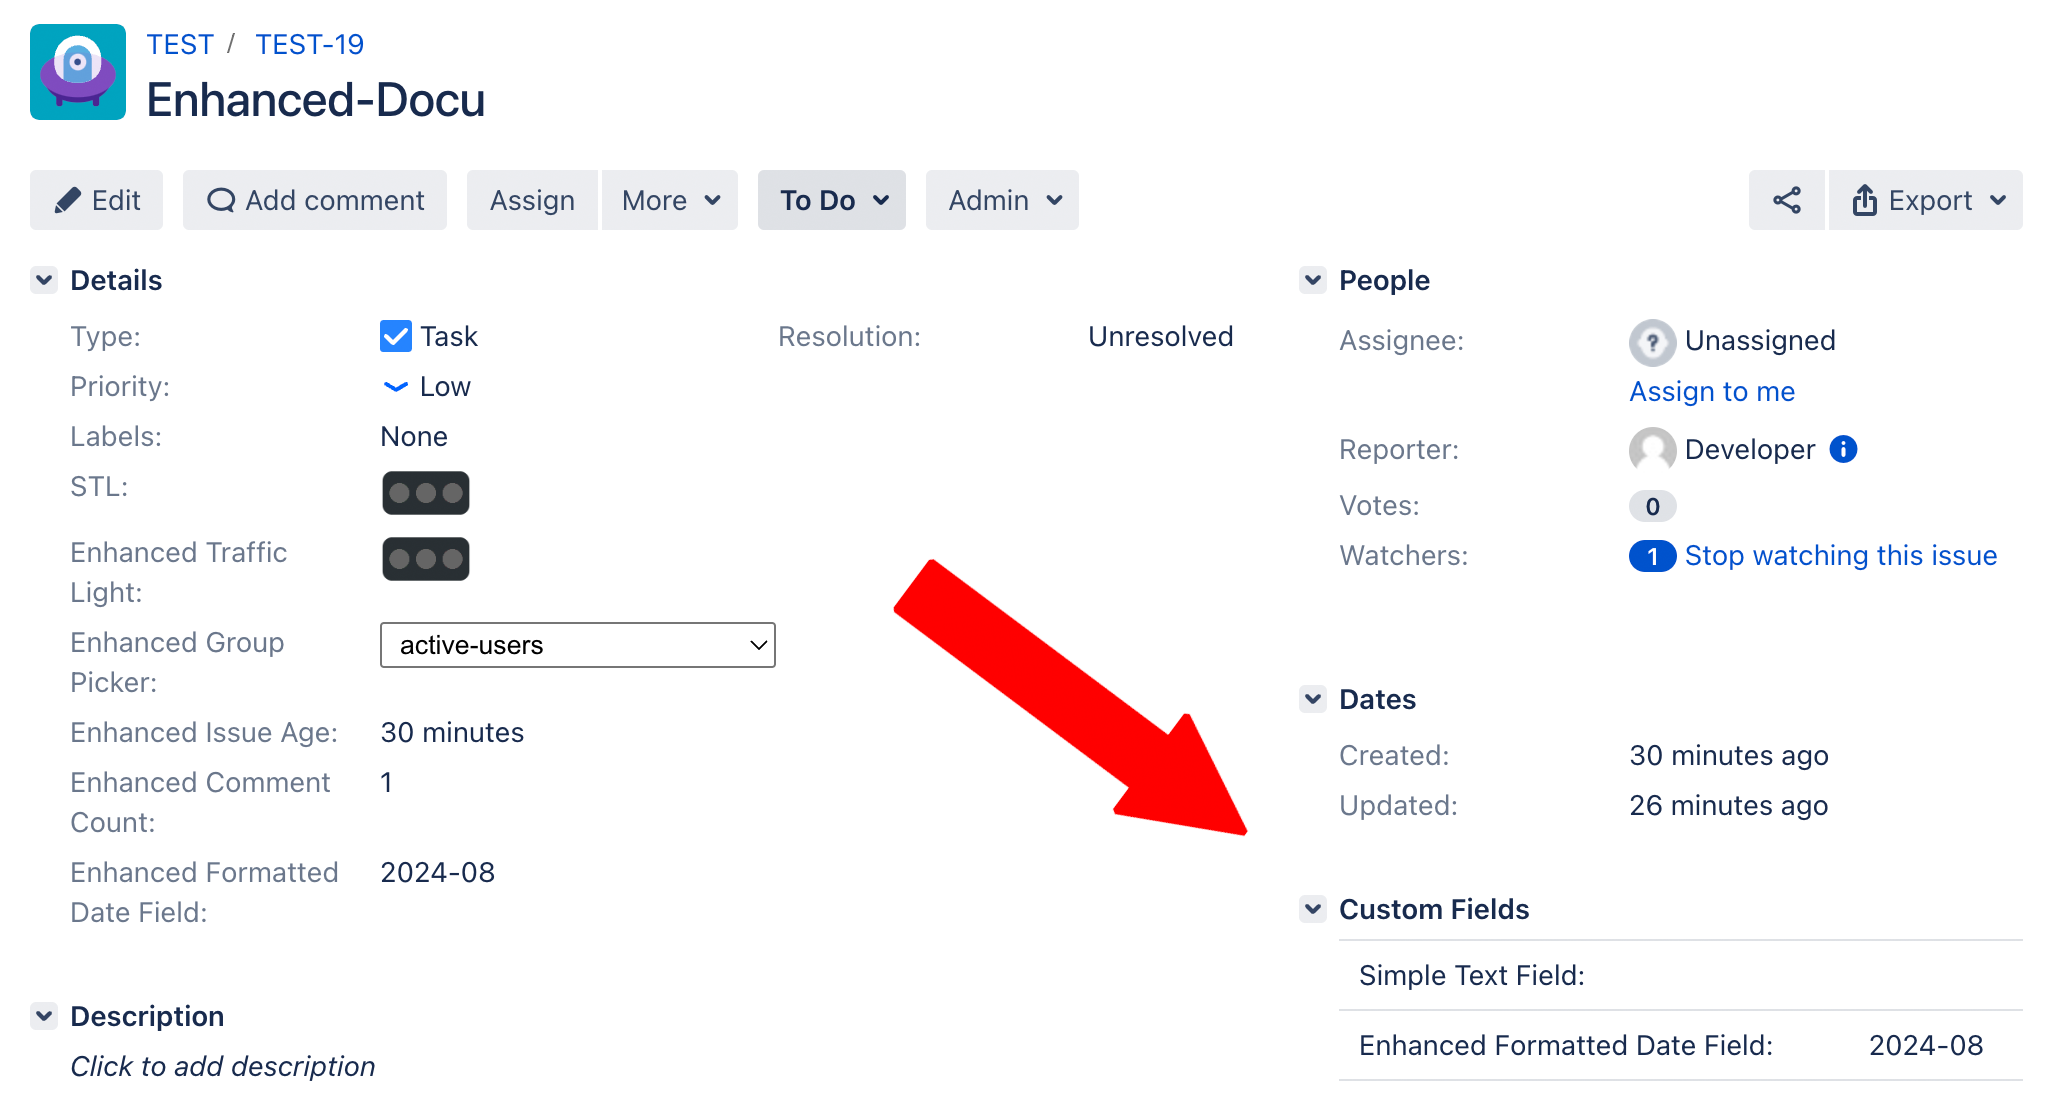
The App comes with a built in feature to display a dedicated panel with all the enhanced custom fields.
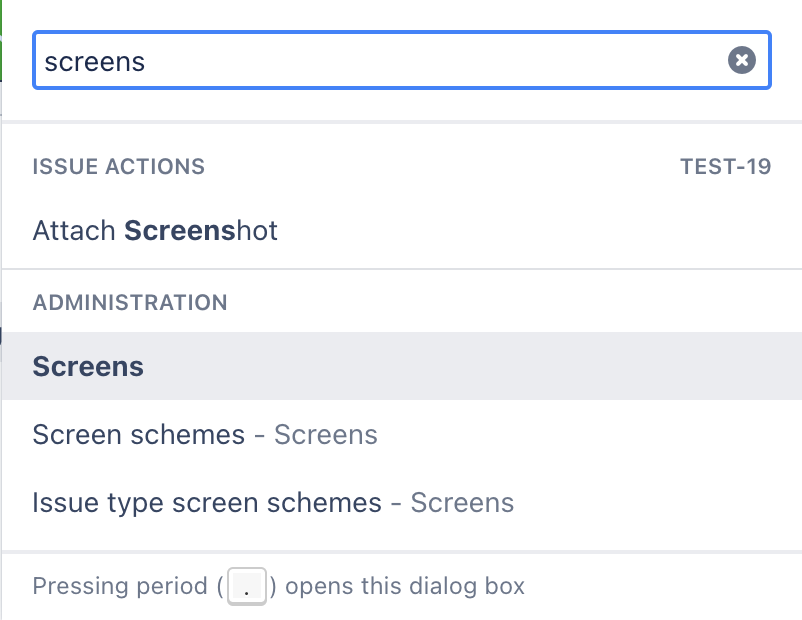
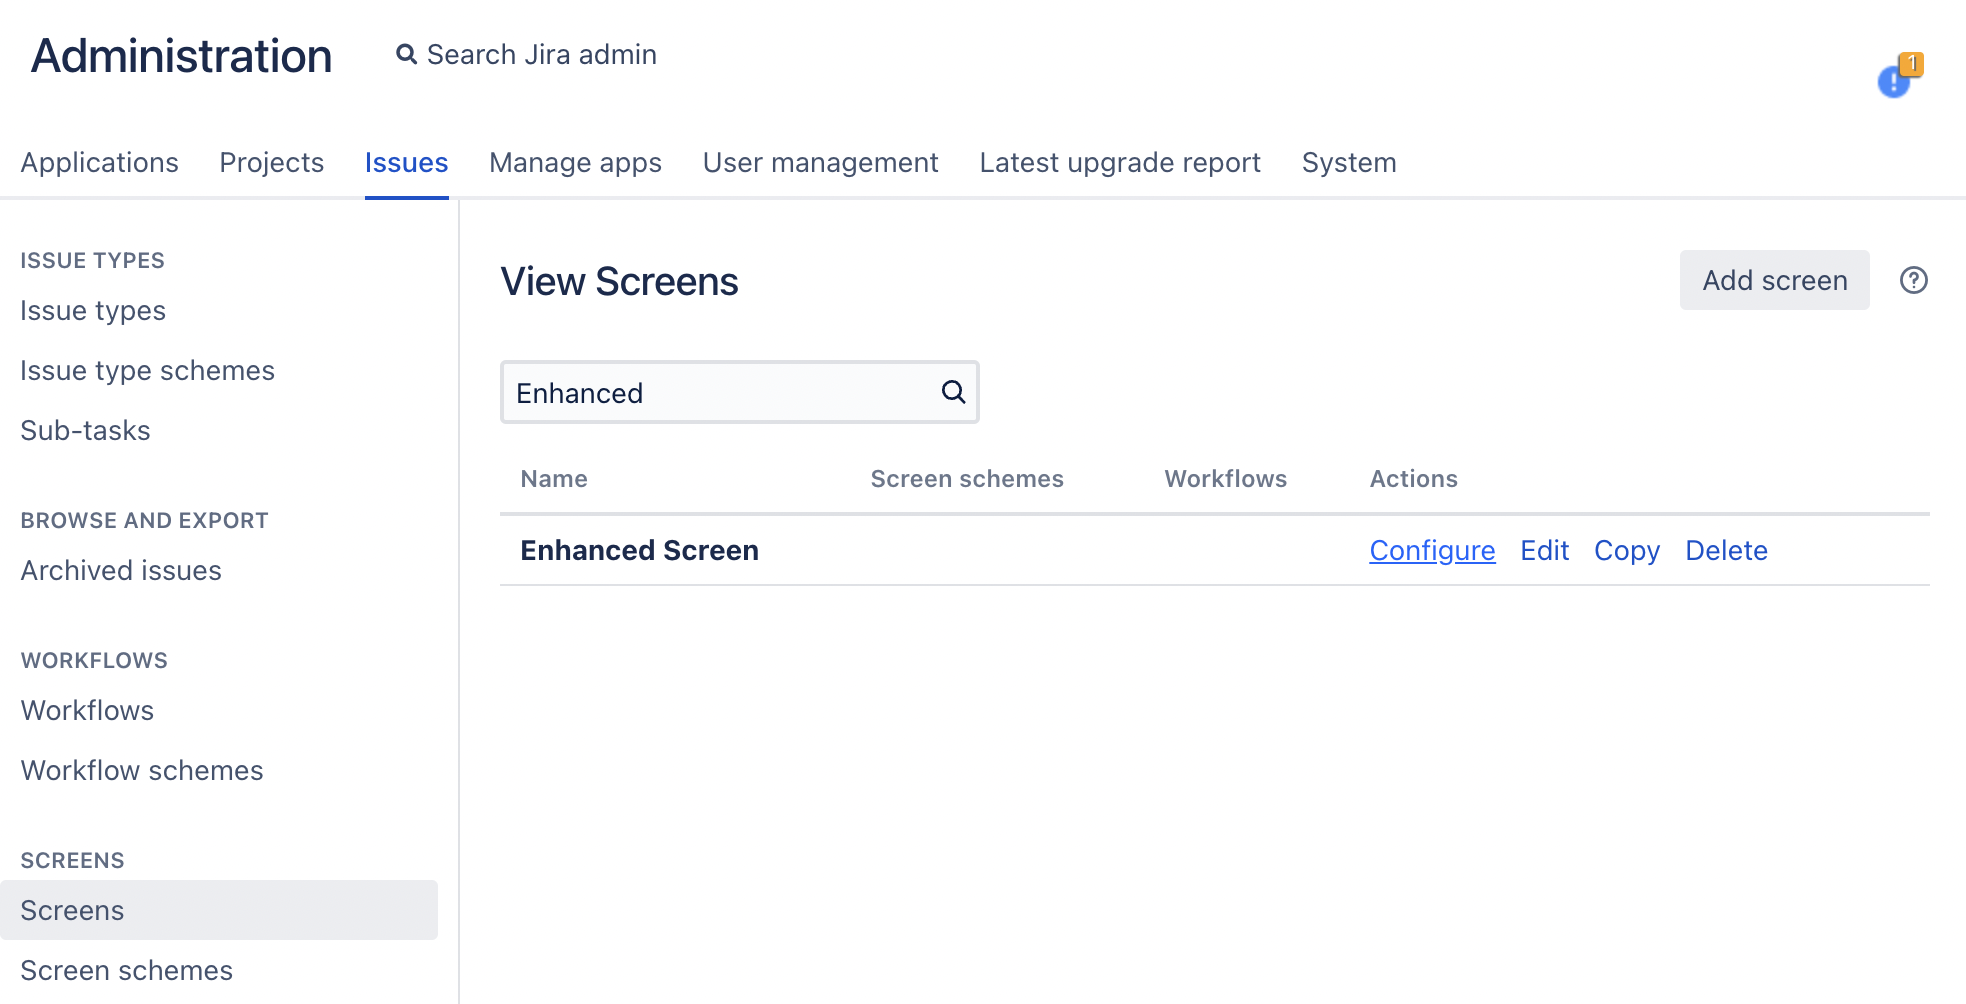
To configure the panel access the general access the screens settings inside Jira administration. Find the “Enhanced Screen” Item and enter the configuration page. Here you can add or remove fields from the panel and hide fields if they have empty values.
