Simple Traffic Lights for Jira
Simple Traffic Lights for Jira provides you with the option to configure a custom field that is rendered as a Traffic Light inside Issues. Utilizing this Traffic Light, users are able to pinpoint properties like status, risk or priority inside a simple visual key. The Traffic Light color can now be configured from within the issue-editing-view and will be displayed inside the detail-view or wherever it is configured to show up. Follow these simple steps to make use of Simple Traffic Lights for Jira inside your Jira Instance:
Usage Guide
Additional Info
Usage Guide
1. Create new Custom Field & Select “Other Custom Field types"
Upon installation of Simple Traffic Lights for Jira, administrators must create the additional Traffic Lights Custom Field in order to make it visible inside their desired Issue-Views.
.png)
2. Give a name to the new Custom Field
To make use of the simple traffic lights field, give it a name inside the custom field configuration.
.png)
3. Add the field to the screens you like
Associate the newly created custom field for the traffic light to the desired screens. This can be done by following these steps:
Click the cog-wheel on the top right corner to enter settings.
click on "issues" and choose "custom fields" from the left sidebar.
find the desired field for traffic lights (JTL) and click on the three dots on the very right and chose "screens".
tick the desired screens where you want the field to be added.
.png)
4. Change value of the field
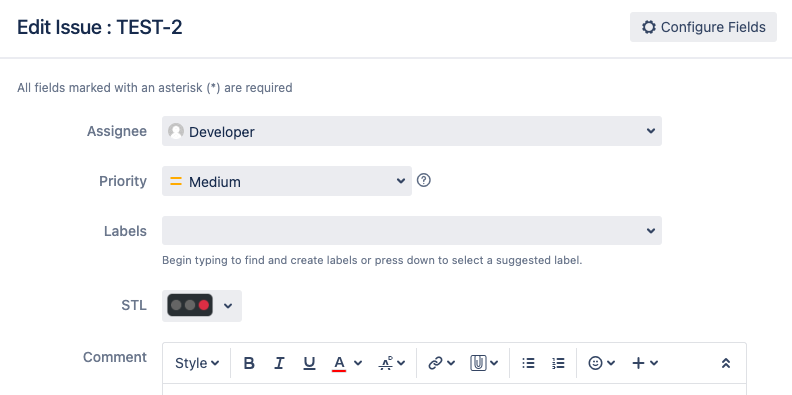
Inside the Issue editing view, you can find the STL custom field and edit it's color by the click of a button.

5. View the field in the Issue
Find the field for the traffic light color inside the issue detail view.
.png)
6. Search for field values using JQL
It is also possible to search for issues by traffic light color using JQL syntax.

Additional info
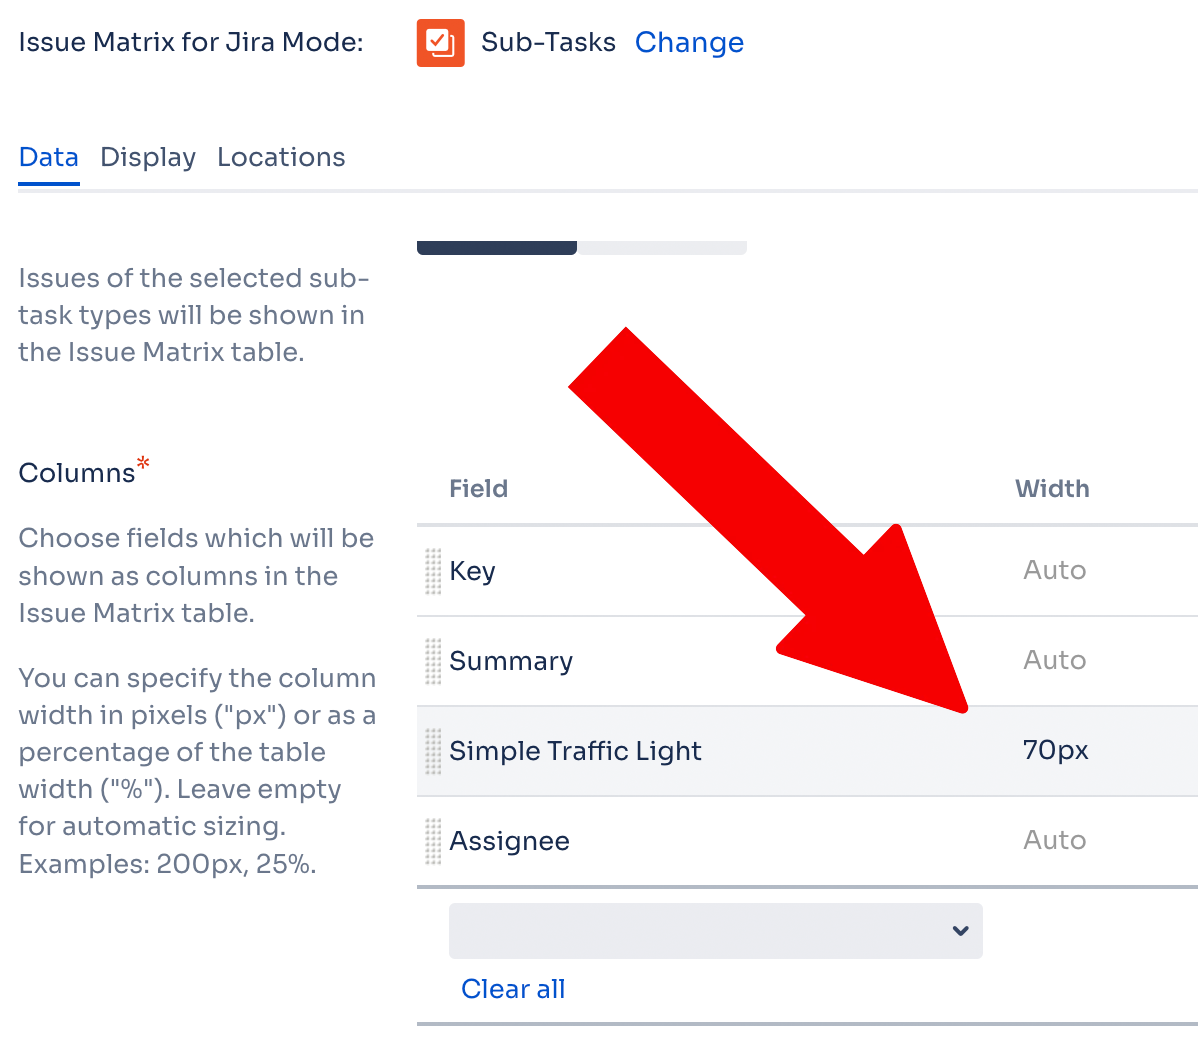
When using this app inside Issue Matrix, please set a manual column width.
Using Auto-Width can cause visual issues like misaligned or oddly sized columns.
As a starting point, a width of 70px or less per column is recommended.

