Quickstart Guide (dc)
This is a short and quick startup guide for using Recycle Bin for Jira.
Permissions for Recycle Bin:
Recycle Issues: Allowing users to move issues into the recycle bin.
Restore recycled Issues: Allowing users to view the recycle bin and Restore recycled Issues from there.
Use Recycle bin: Allowing users to move issues into the recycle bin, view the recycle bin and Restore recycled Issues from the recycle bin.
Recycle & Restore Permissions are split up in case admins want to assign different groups to the different actions, for example only allowing one group to recycle issues but another to view and Restore recycled Issues from the recycle bin.
Set Permissions Globally
navigate to the System Tab of Jira’s Administration Settings.
find “Global Permissions” on the left side bar menu.
Add global permissions by using the dropdown input selector for Permission and Group at the bottom of the Page.
Find “Use Recycle Bin” Permission and assign your desired user group to it.
Find “Recycle Issues” and “Restore recycled Issues” and assign your desired user group to it.
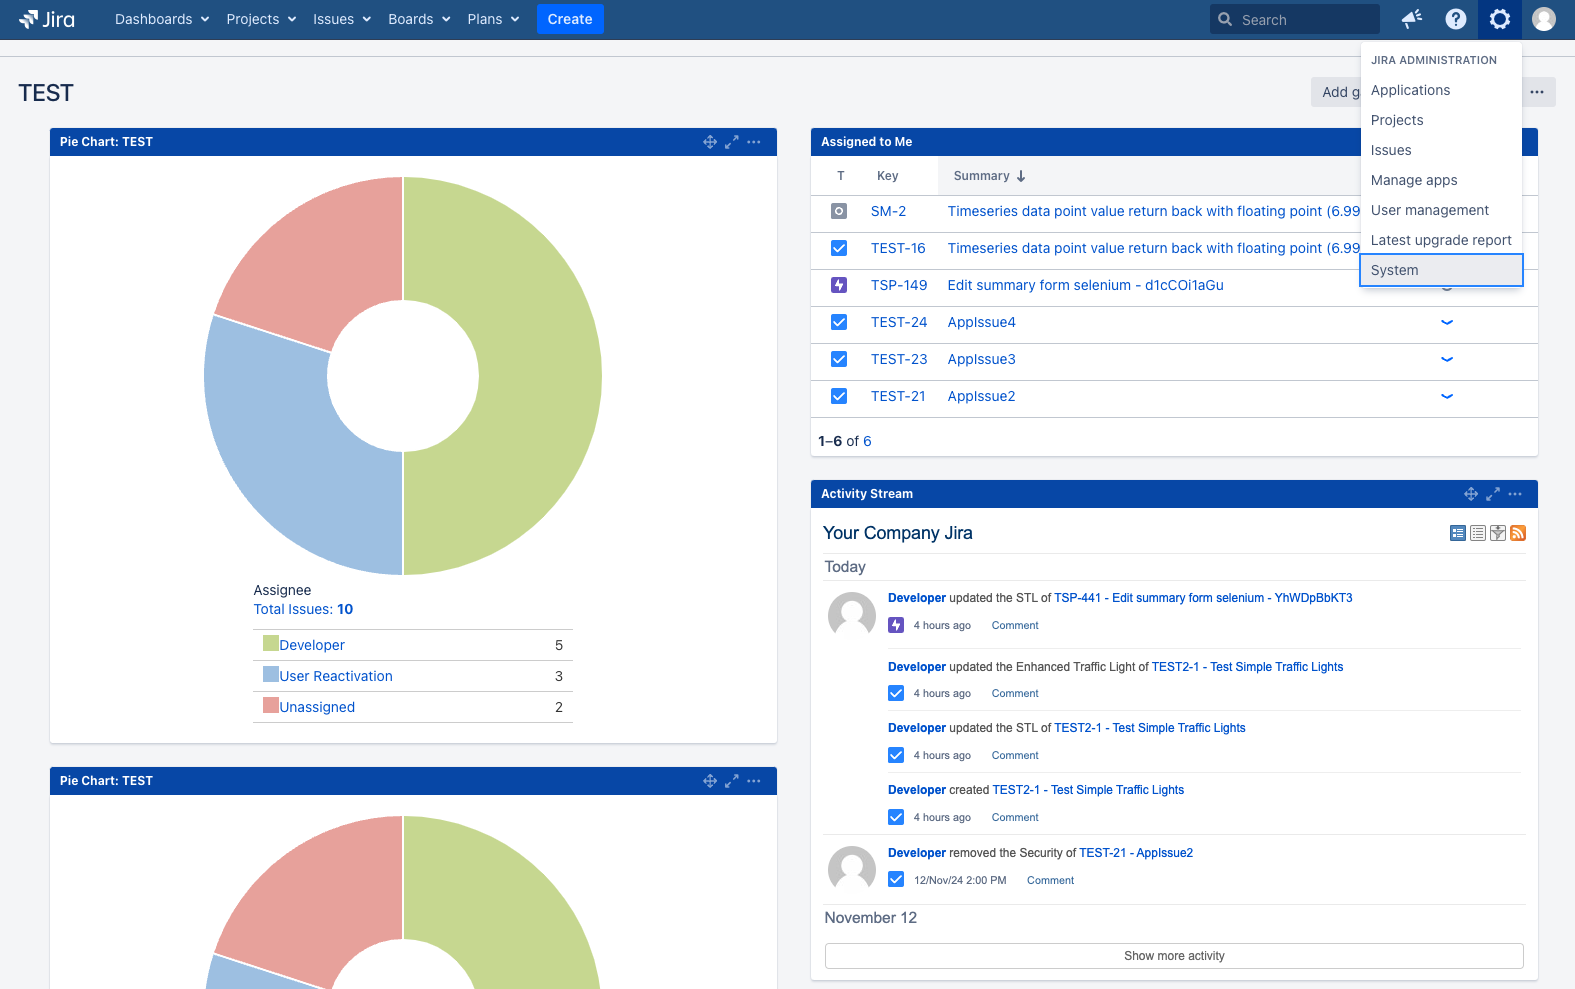
Figure 1: Jira Dashboard
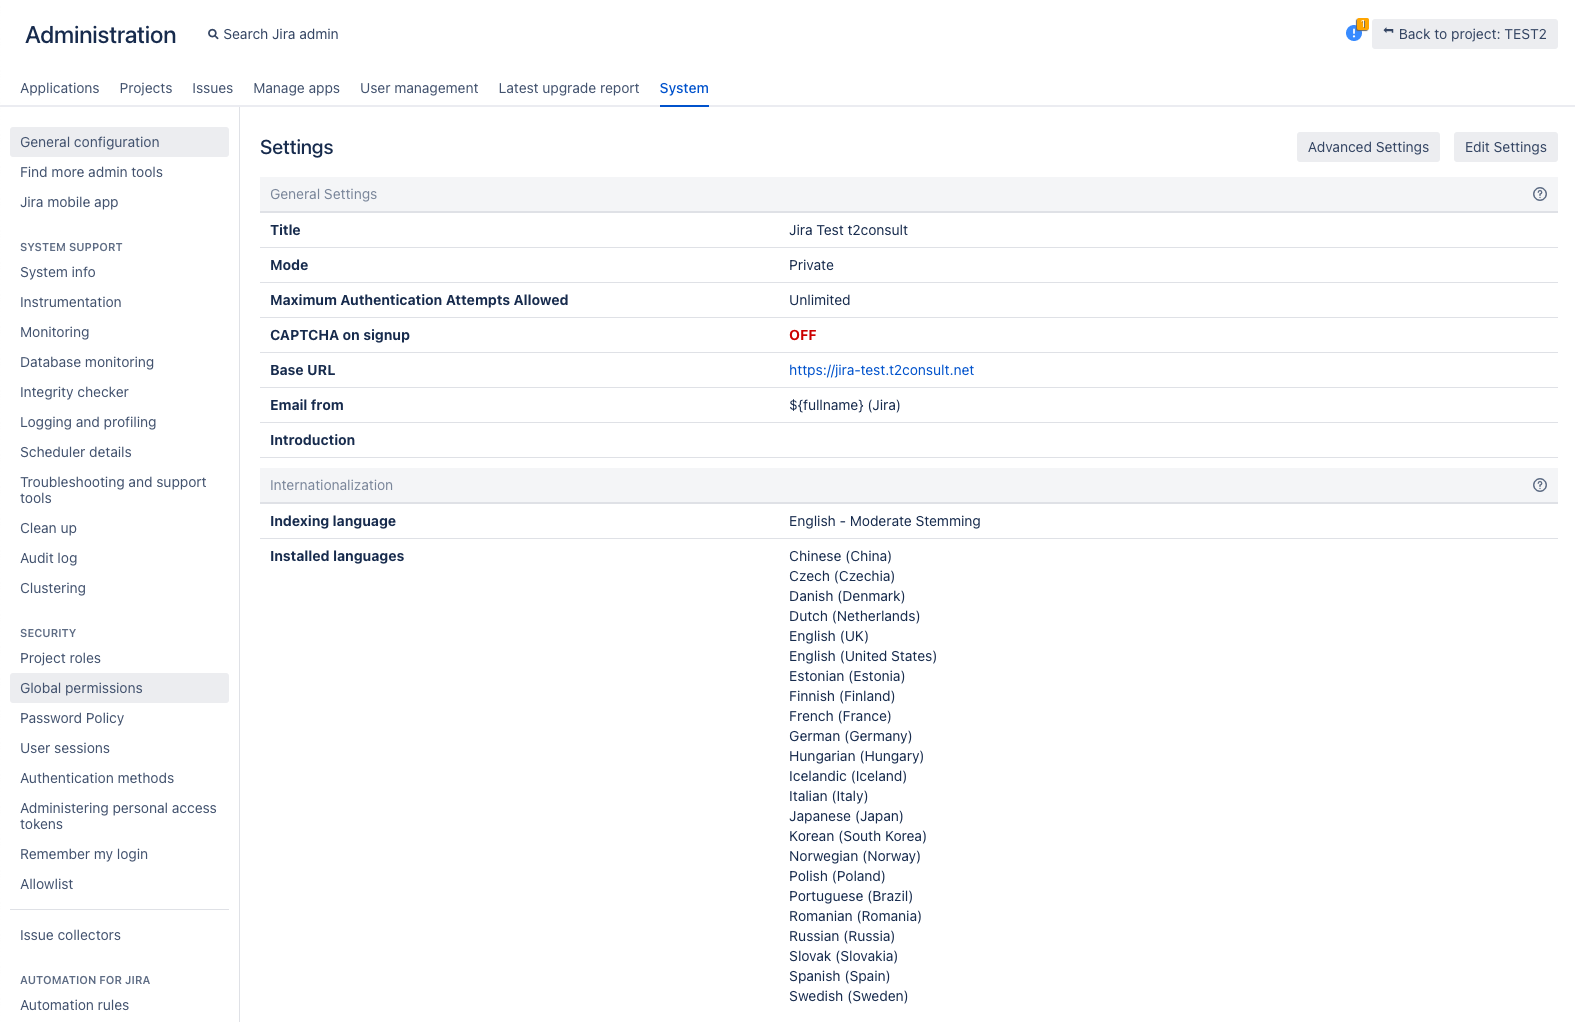
Figure 2: Global Administration
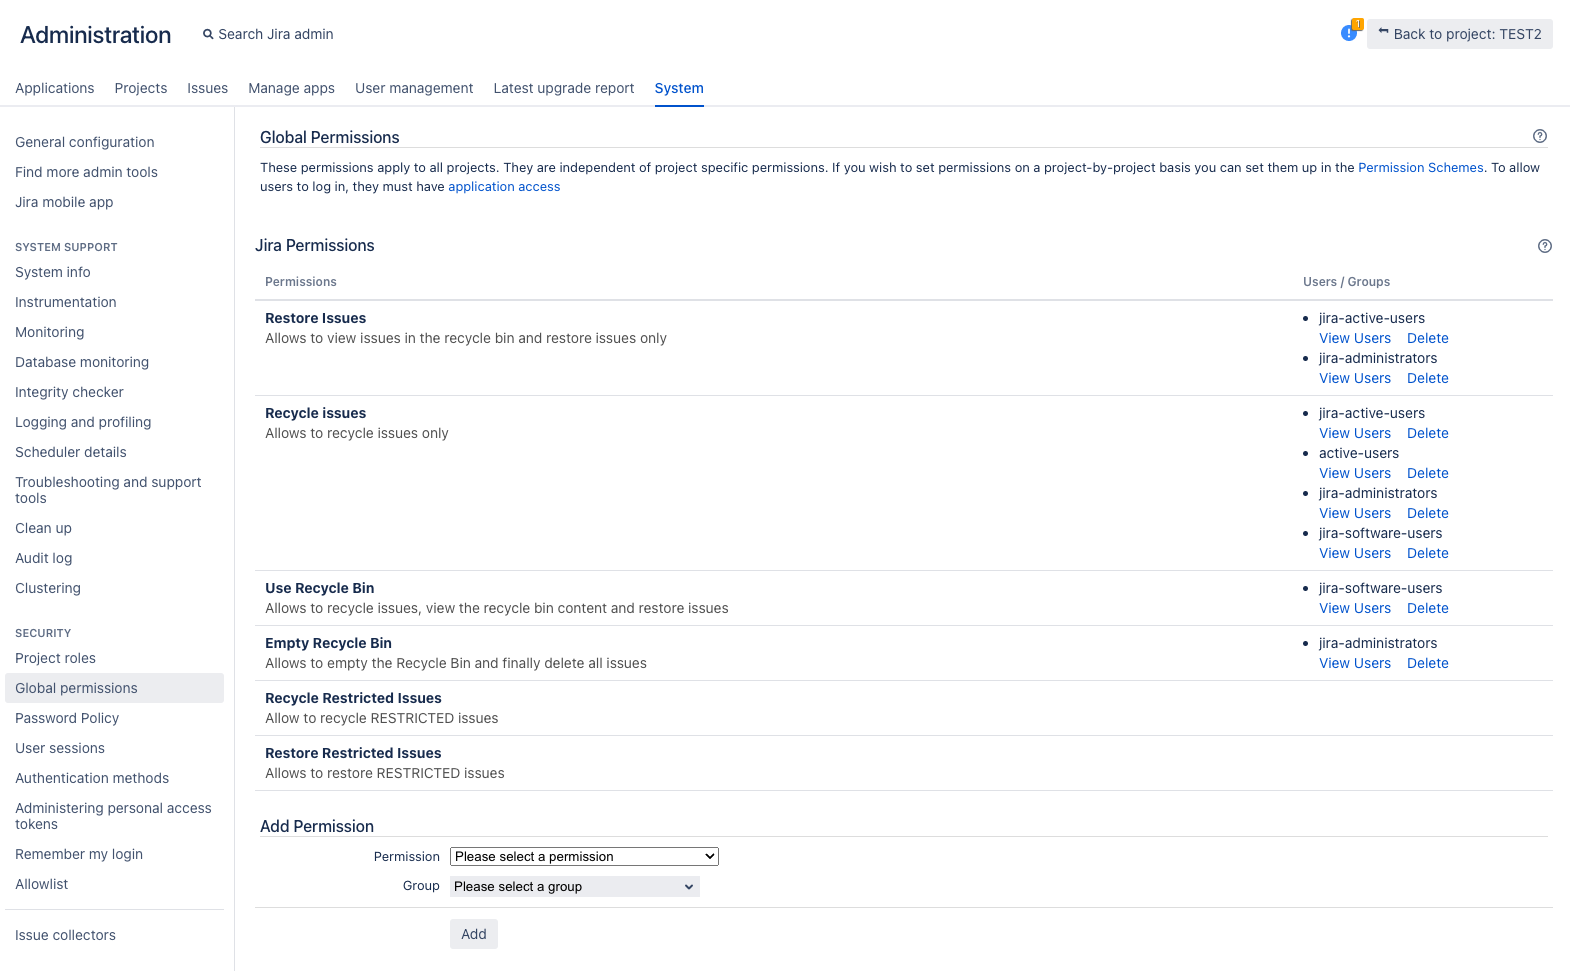
Figure 3: Global Permissions
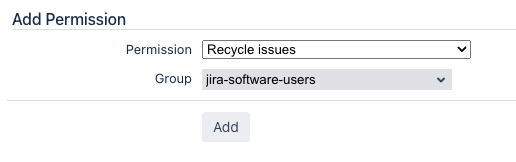
Figure 4: Granting global Permissions
Set Permissions on Project Level
Navigate to the Project Settings
Find the project permissions configuration
Click on “Actions” in the top right corner and select “Edit permissions” from the dropdown to adjust the permission scheme.
Grant permissions according to your workflow, for the following actions:
- “Use Recycle Bin”
- “Recycle Issues”
- “Restore recycled Issues”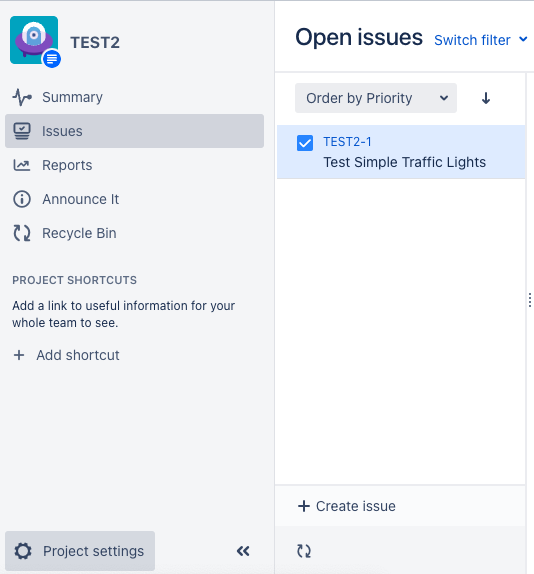
Figure 5: Project View
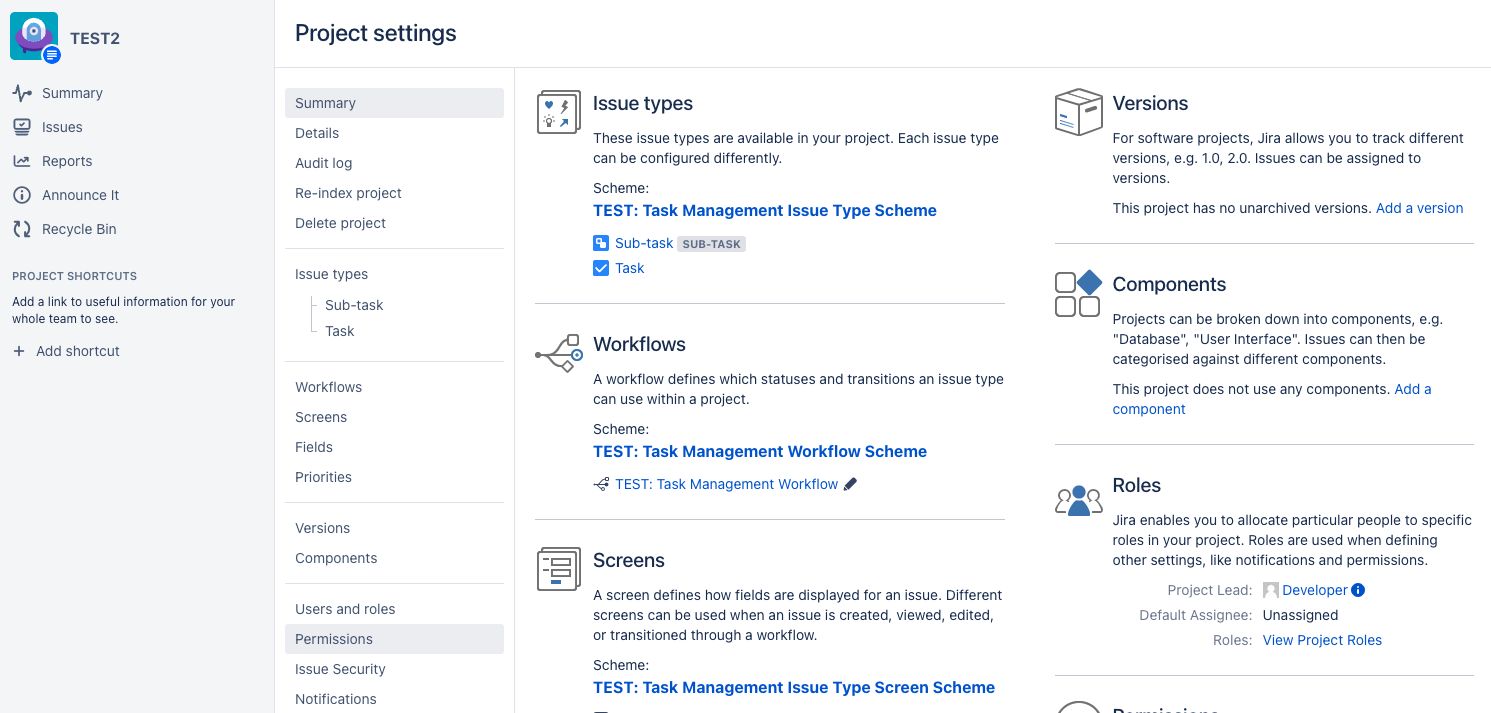
Figure 6: Project Settings
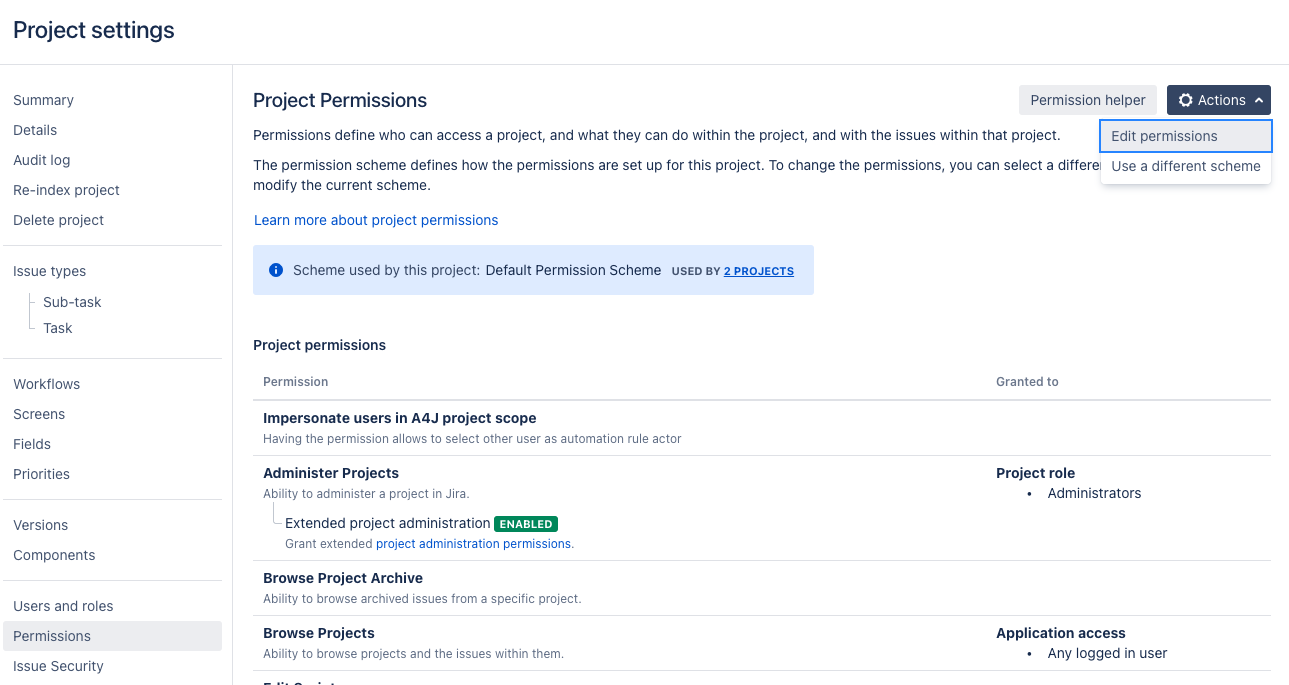
Figure 7: Project Permissions
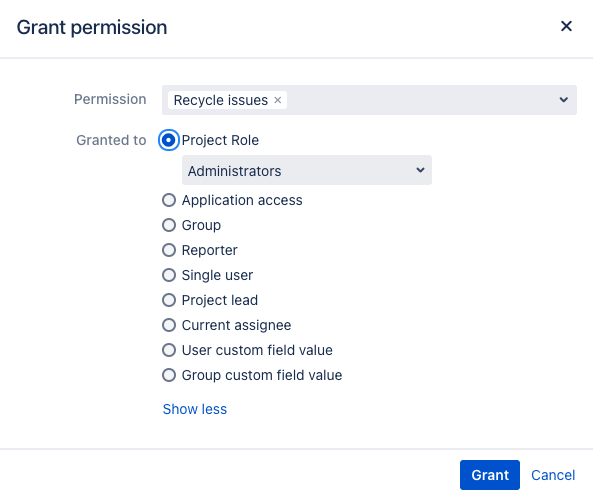
Figure 8: Project Permissions - Granting Dialog